Keep reading
All updates More in this category
Built with farmers.
Shipped in weeks.
Fifteen minutes with Ari. Bring the thing you wish your software did, and he'll tell you if it's already built.
.jpg)
This short video guides you through exactly how to use Farmhand's box builder to set up your Customizable CSA shares. You can follow along:
Step 1: Load your products
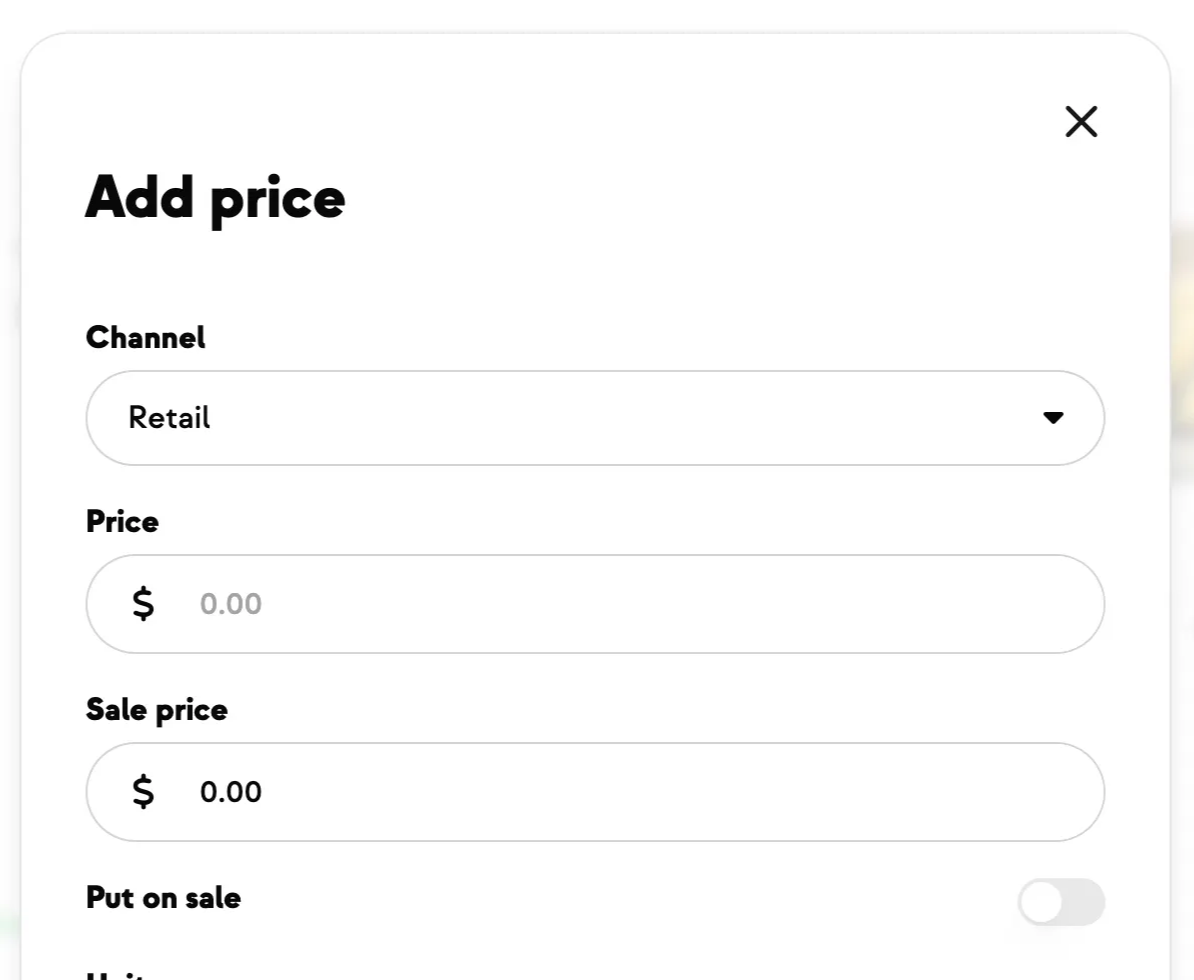
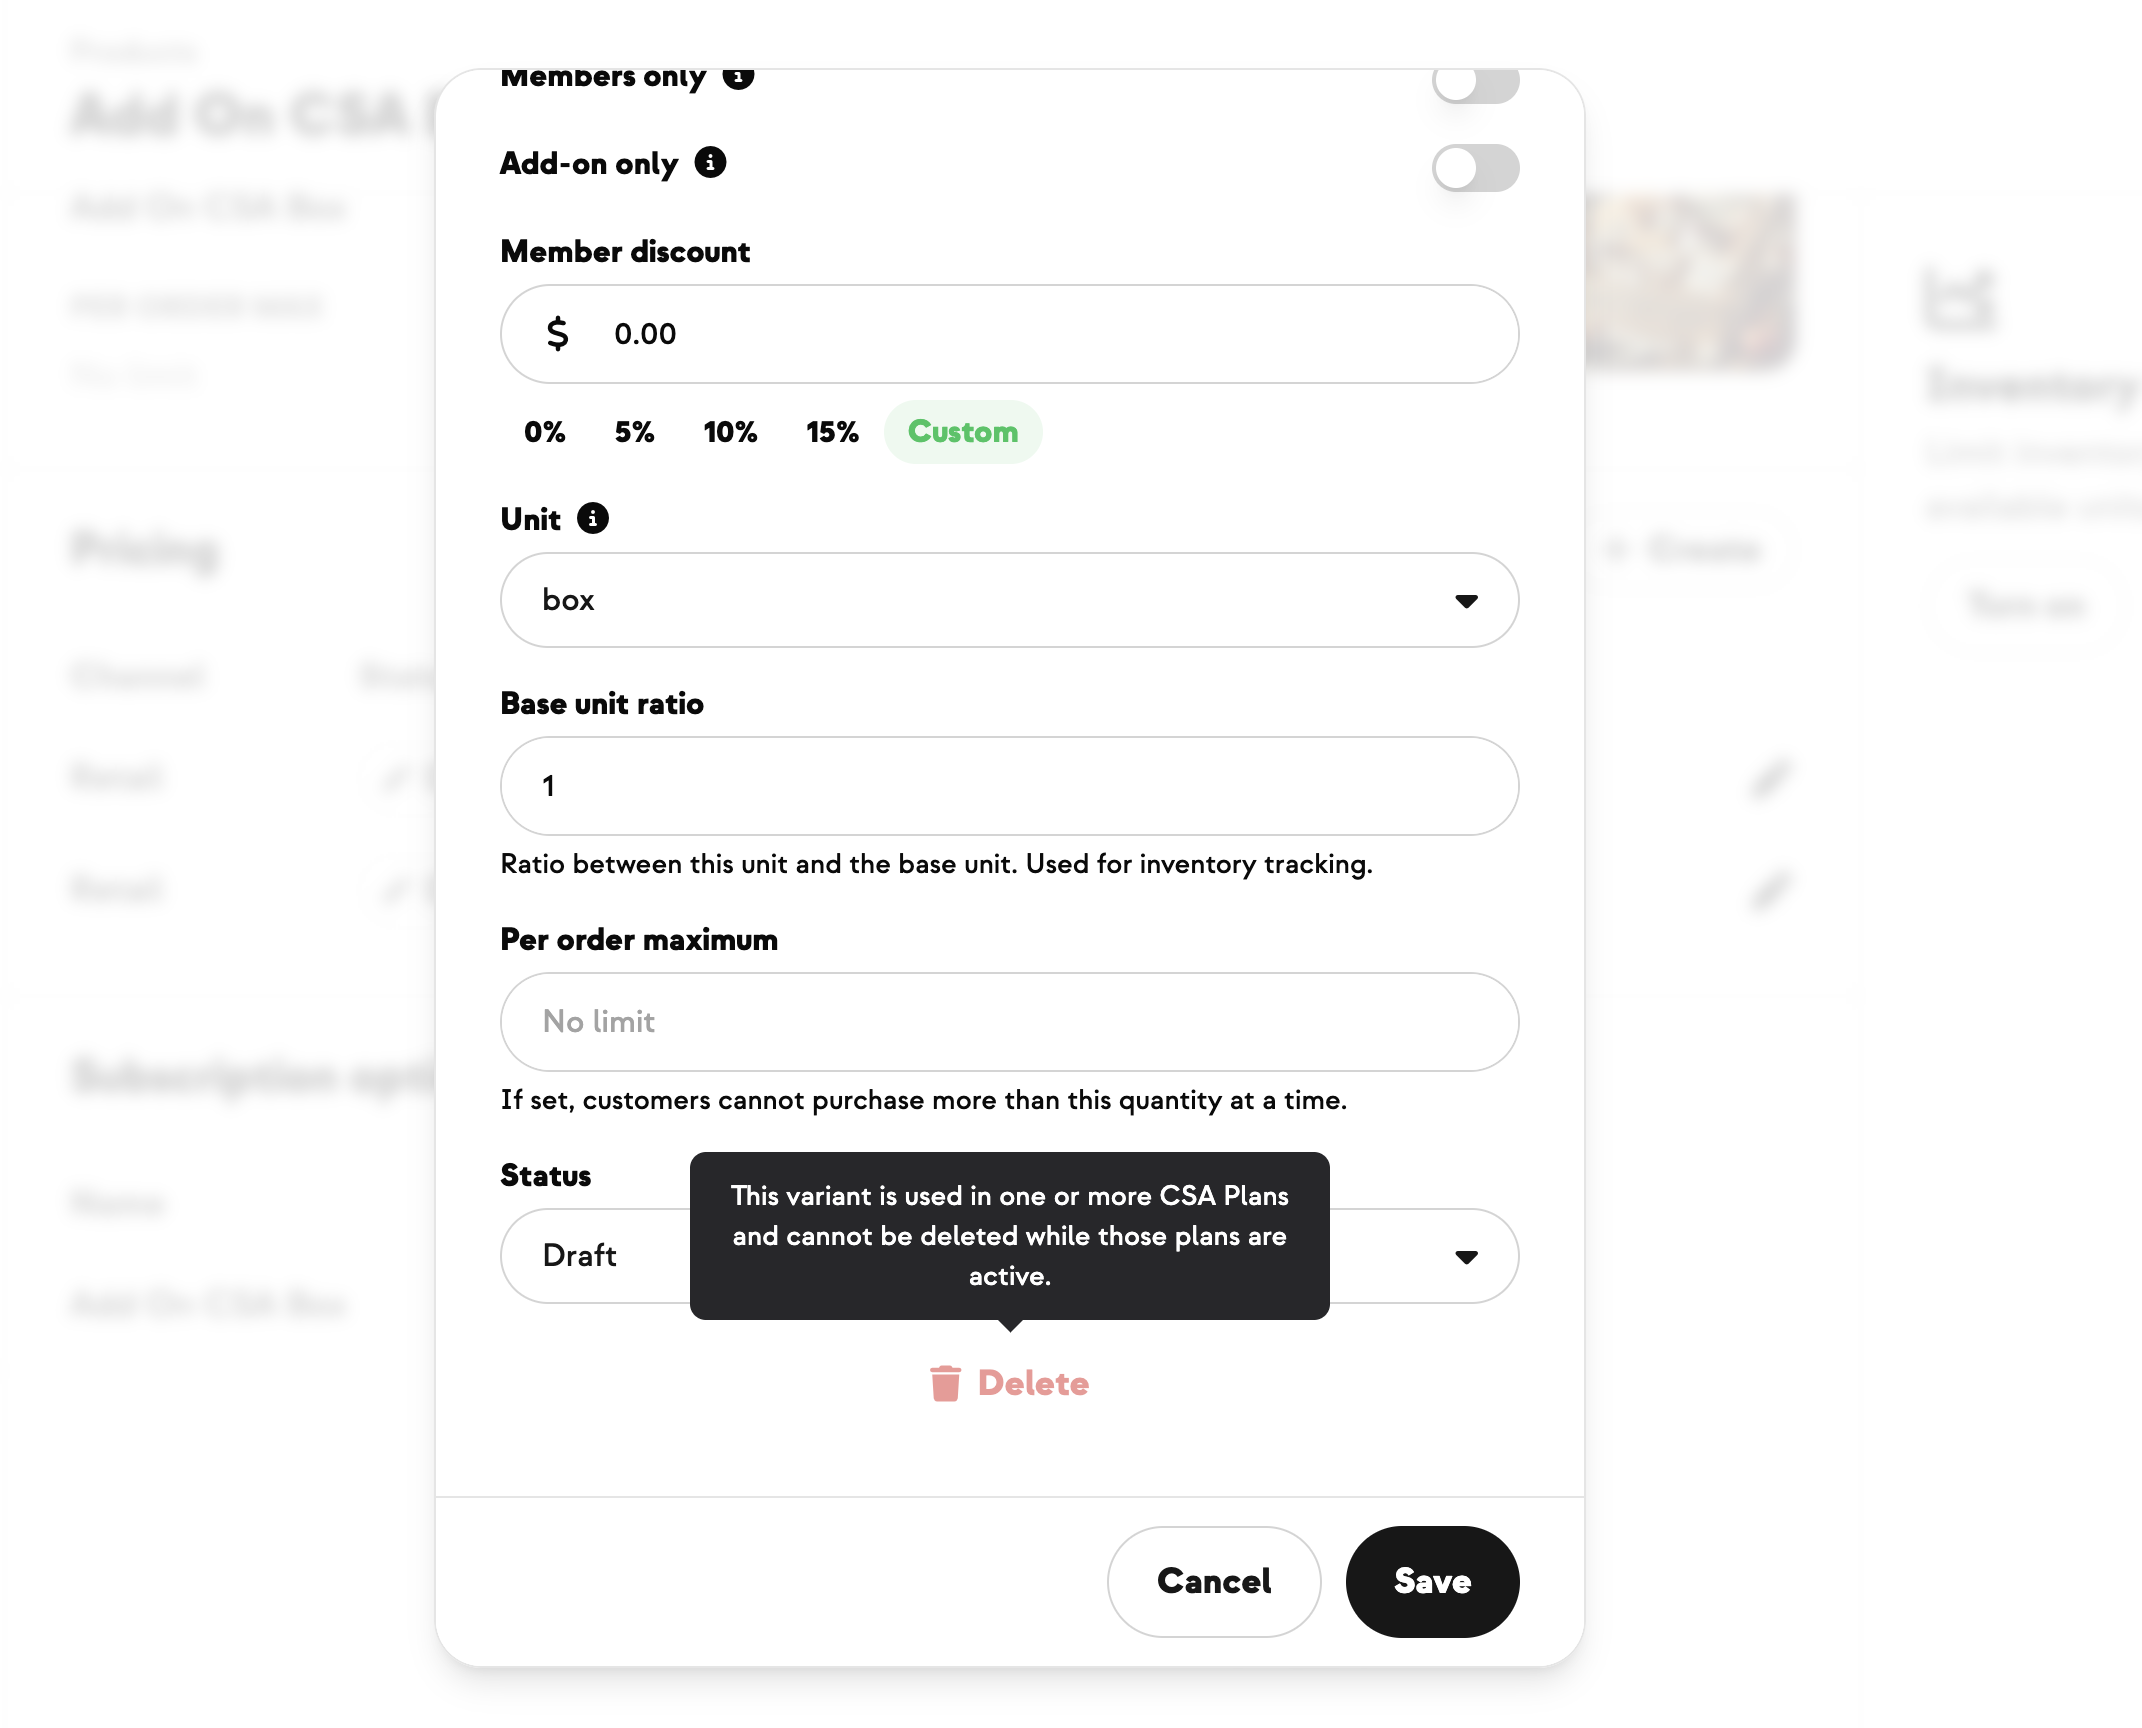
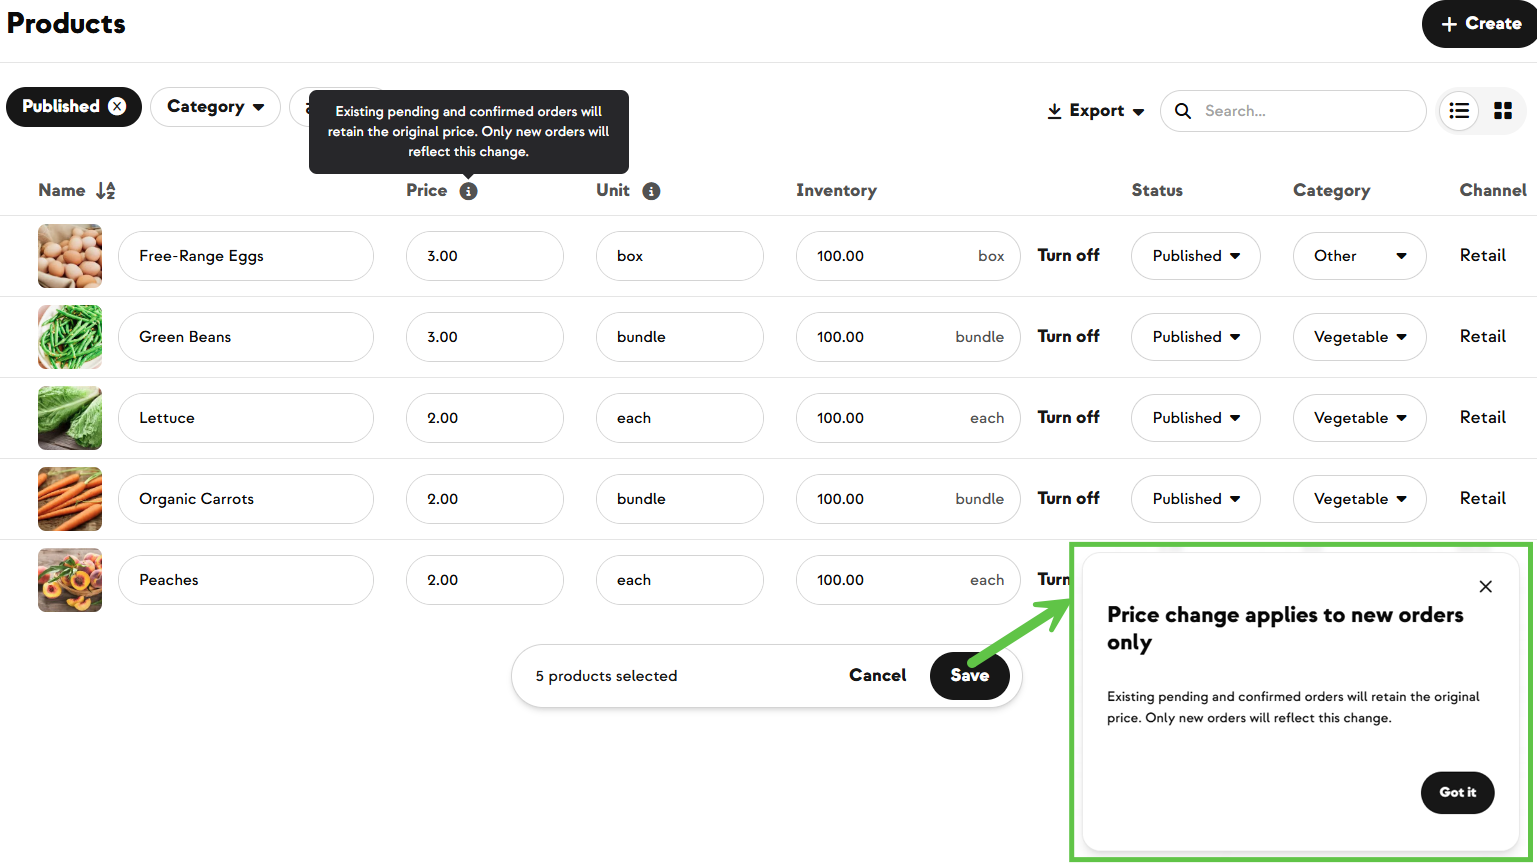
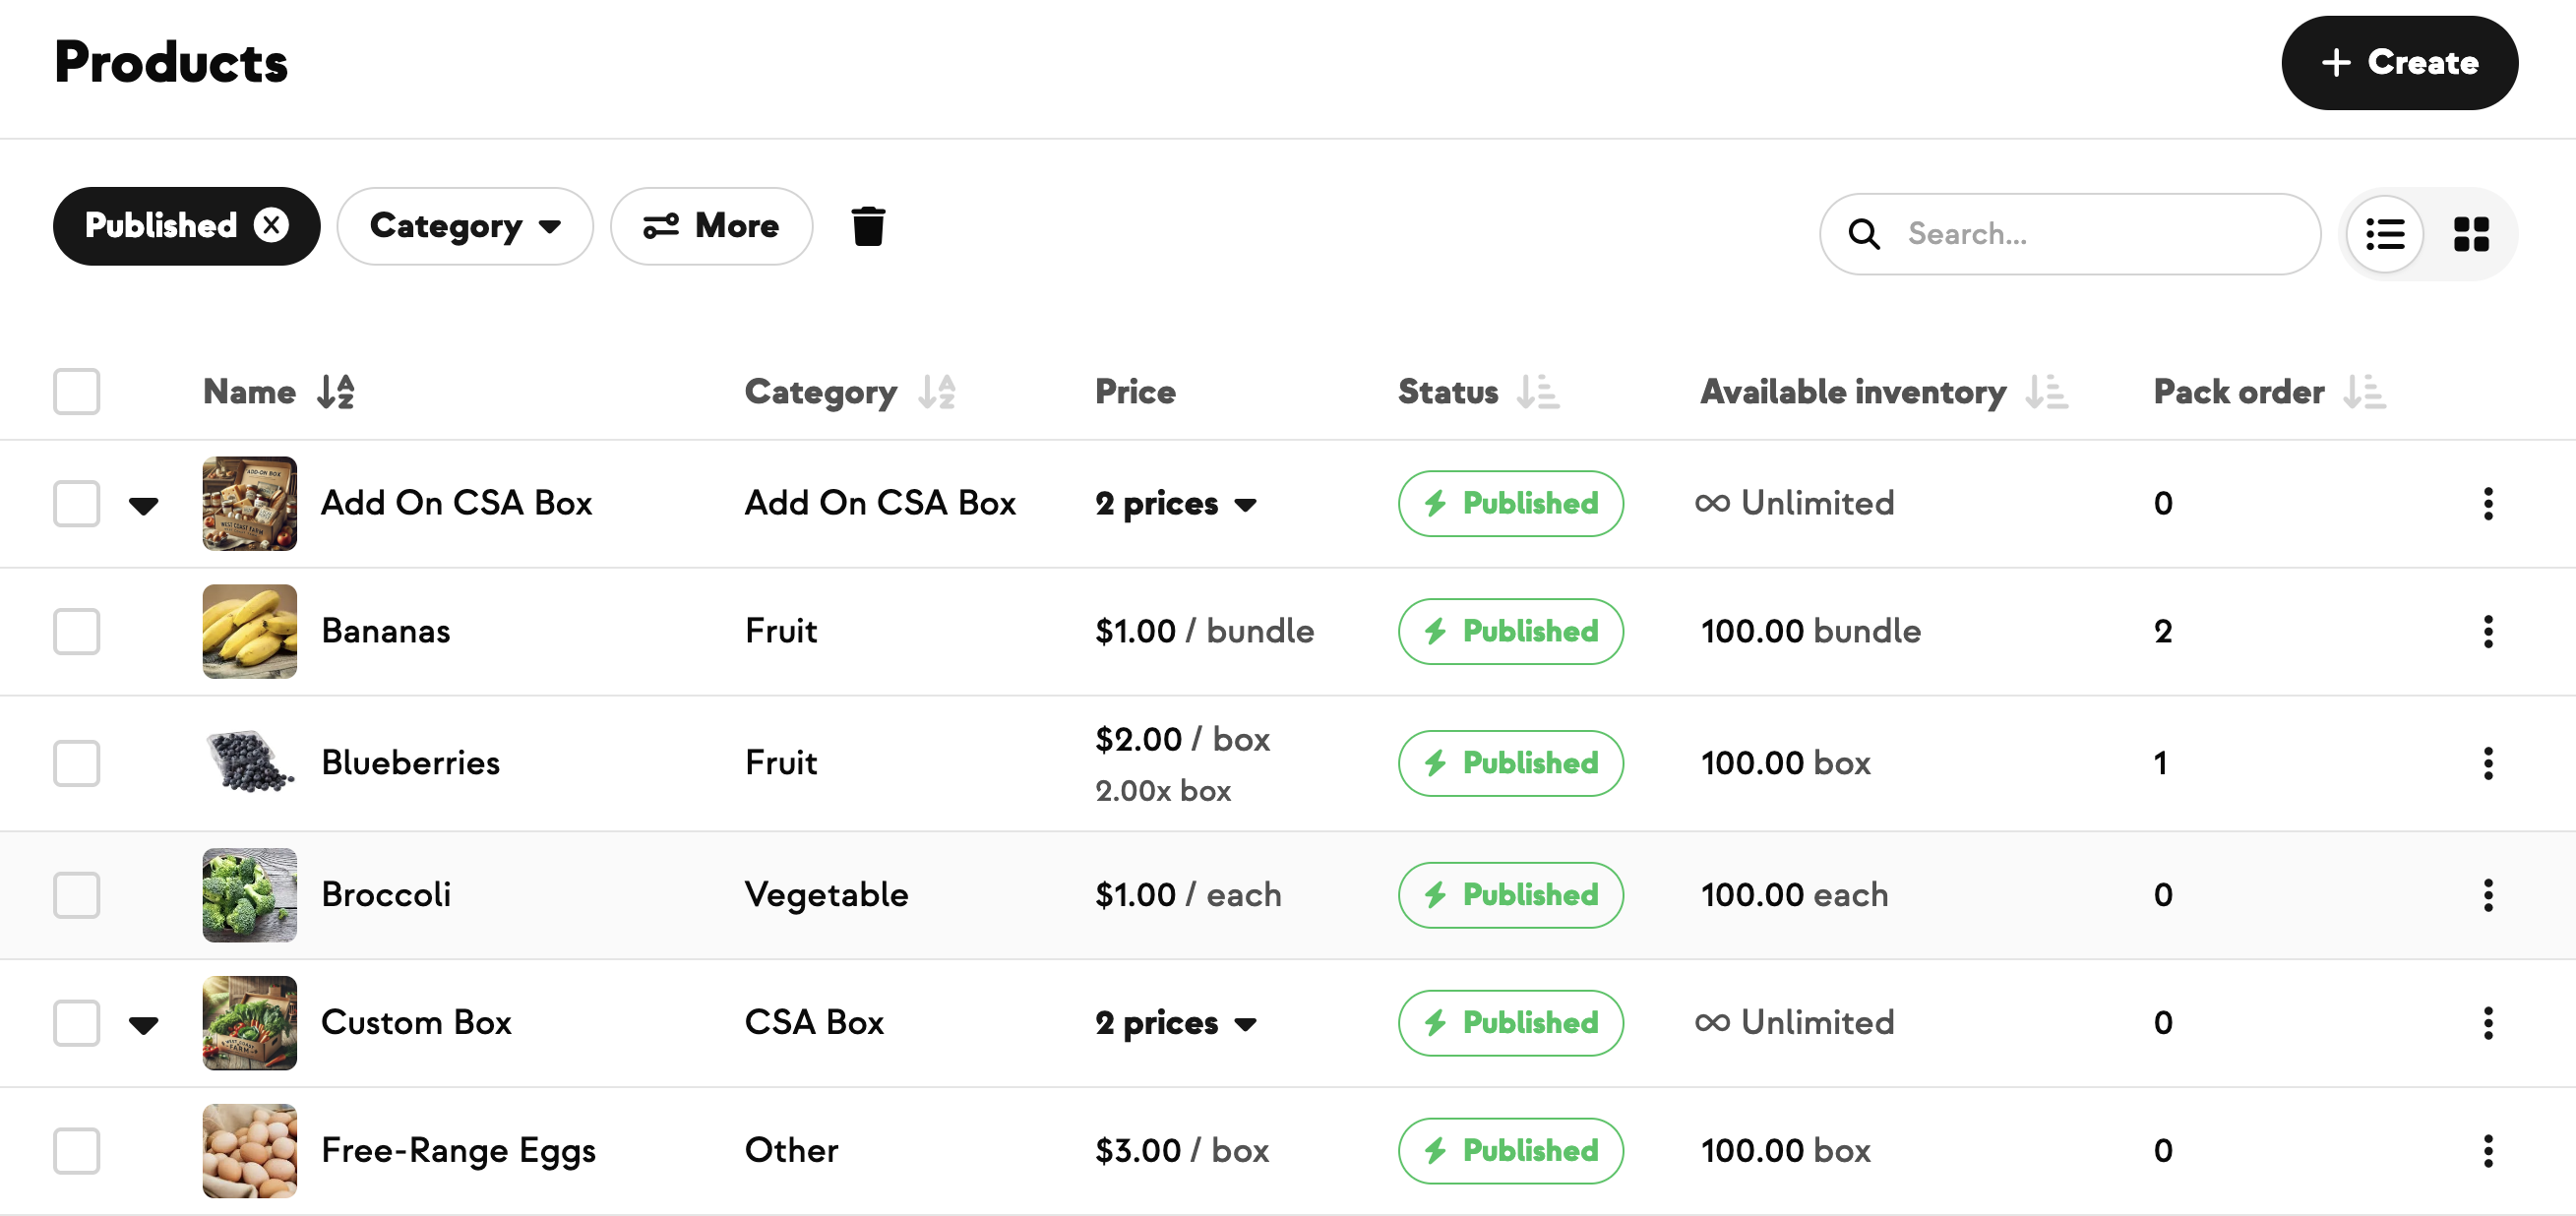
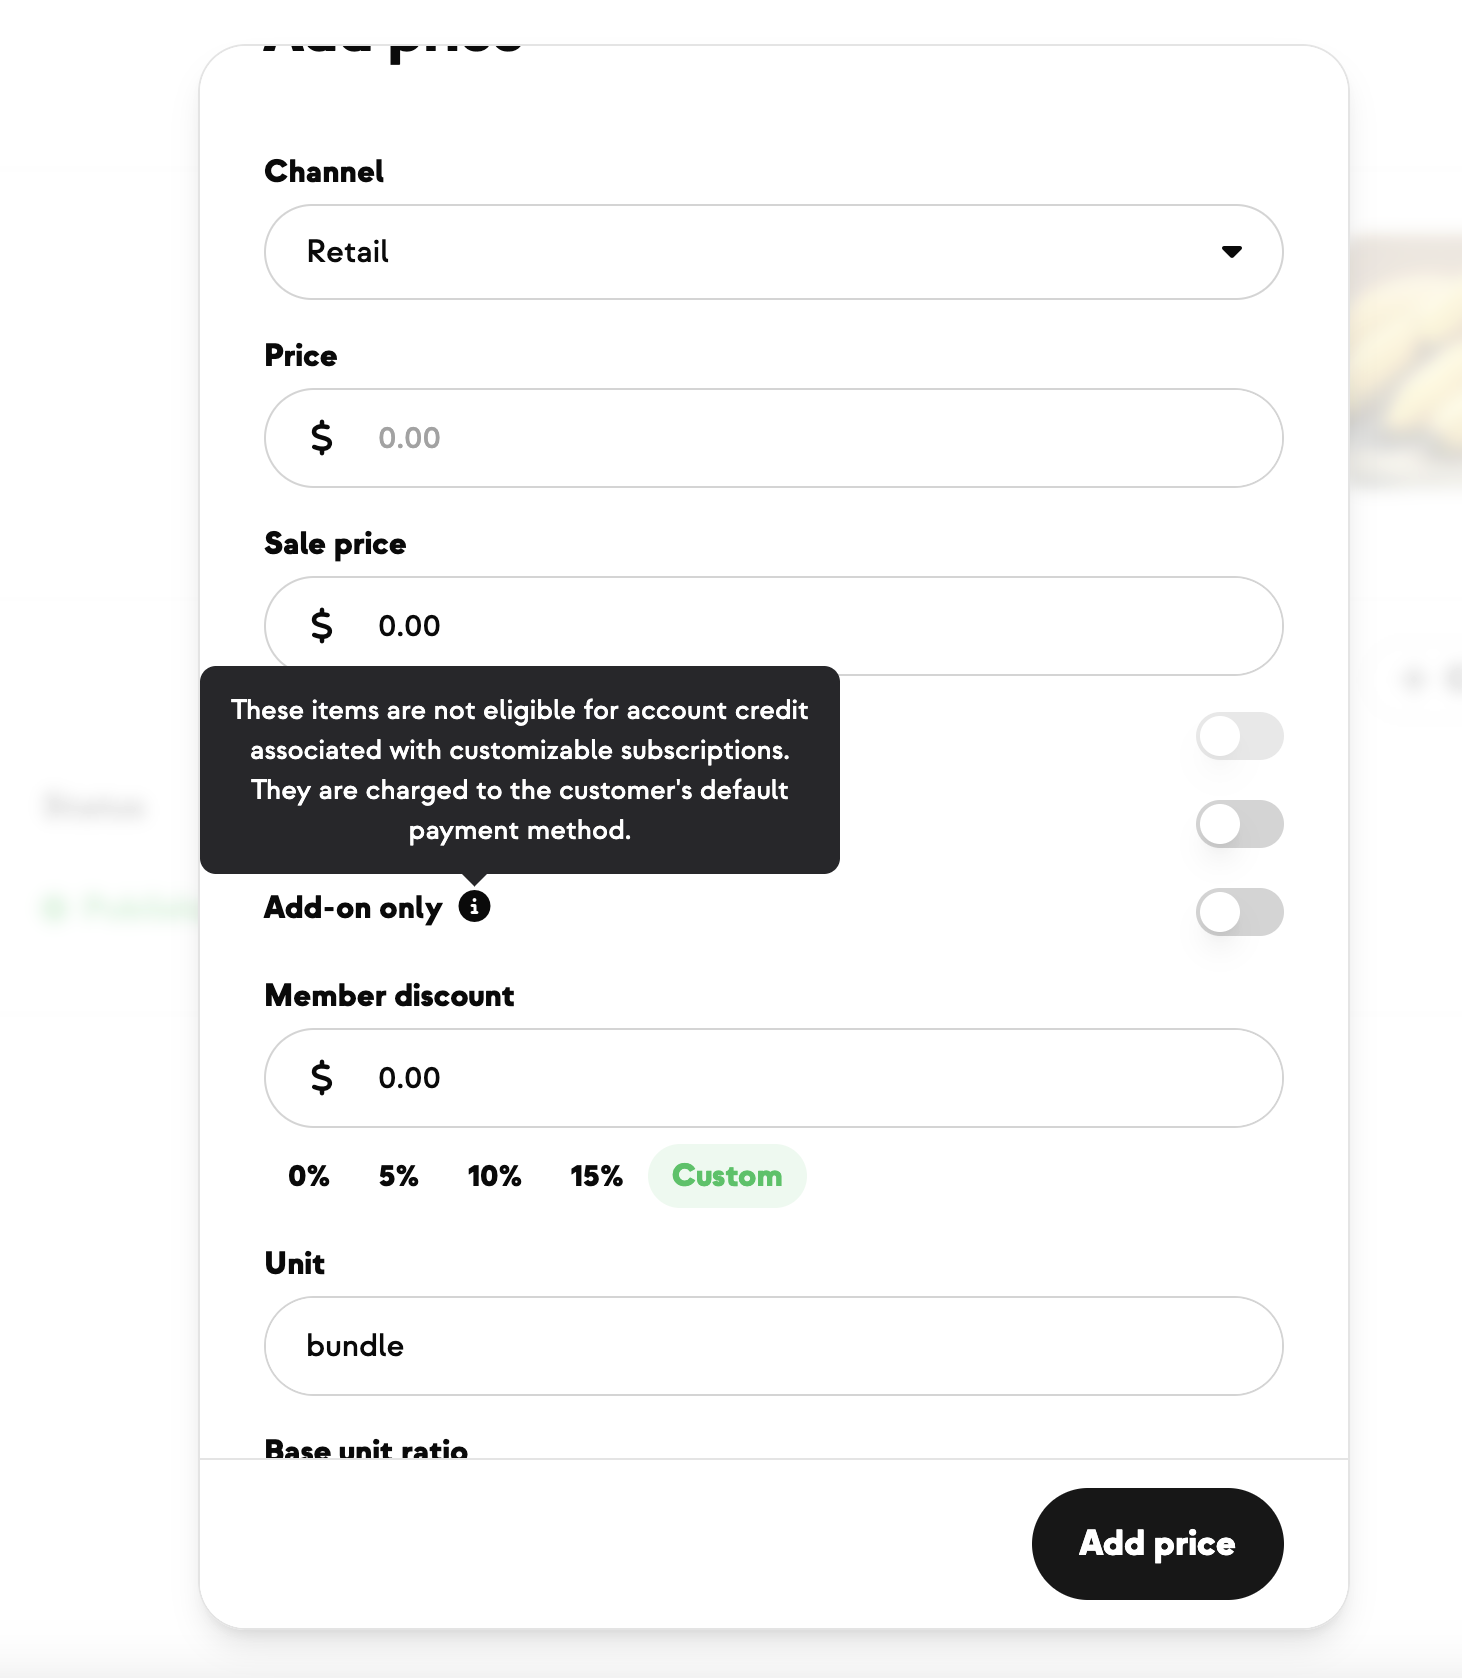
Before you can build a box, your products need to live in Farmhand with the right pricing and units. Go to your products page, confirm each item is published, and update pricing and units as needed (e.g., set carrots to $3/bunch instead of $1 each). Or, further break add-ons into their own packing groups (heaviest first, lightest last). If you need to upload a product list from a spreadsheet or your previous CSA management system, you can send it to Farmhand and we’ll upload it into the system for you!
Step 2: Open the box builder
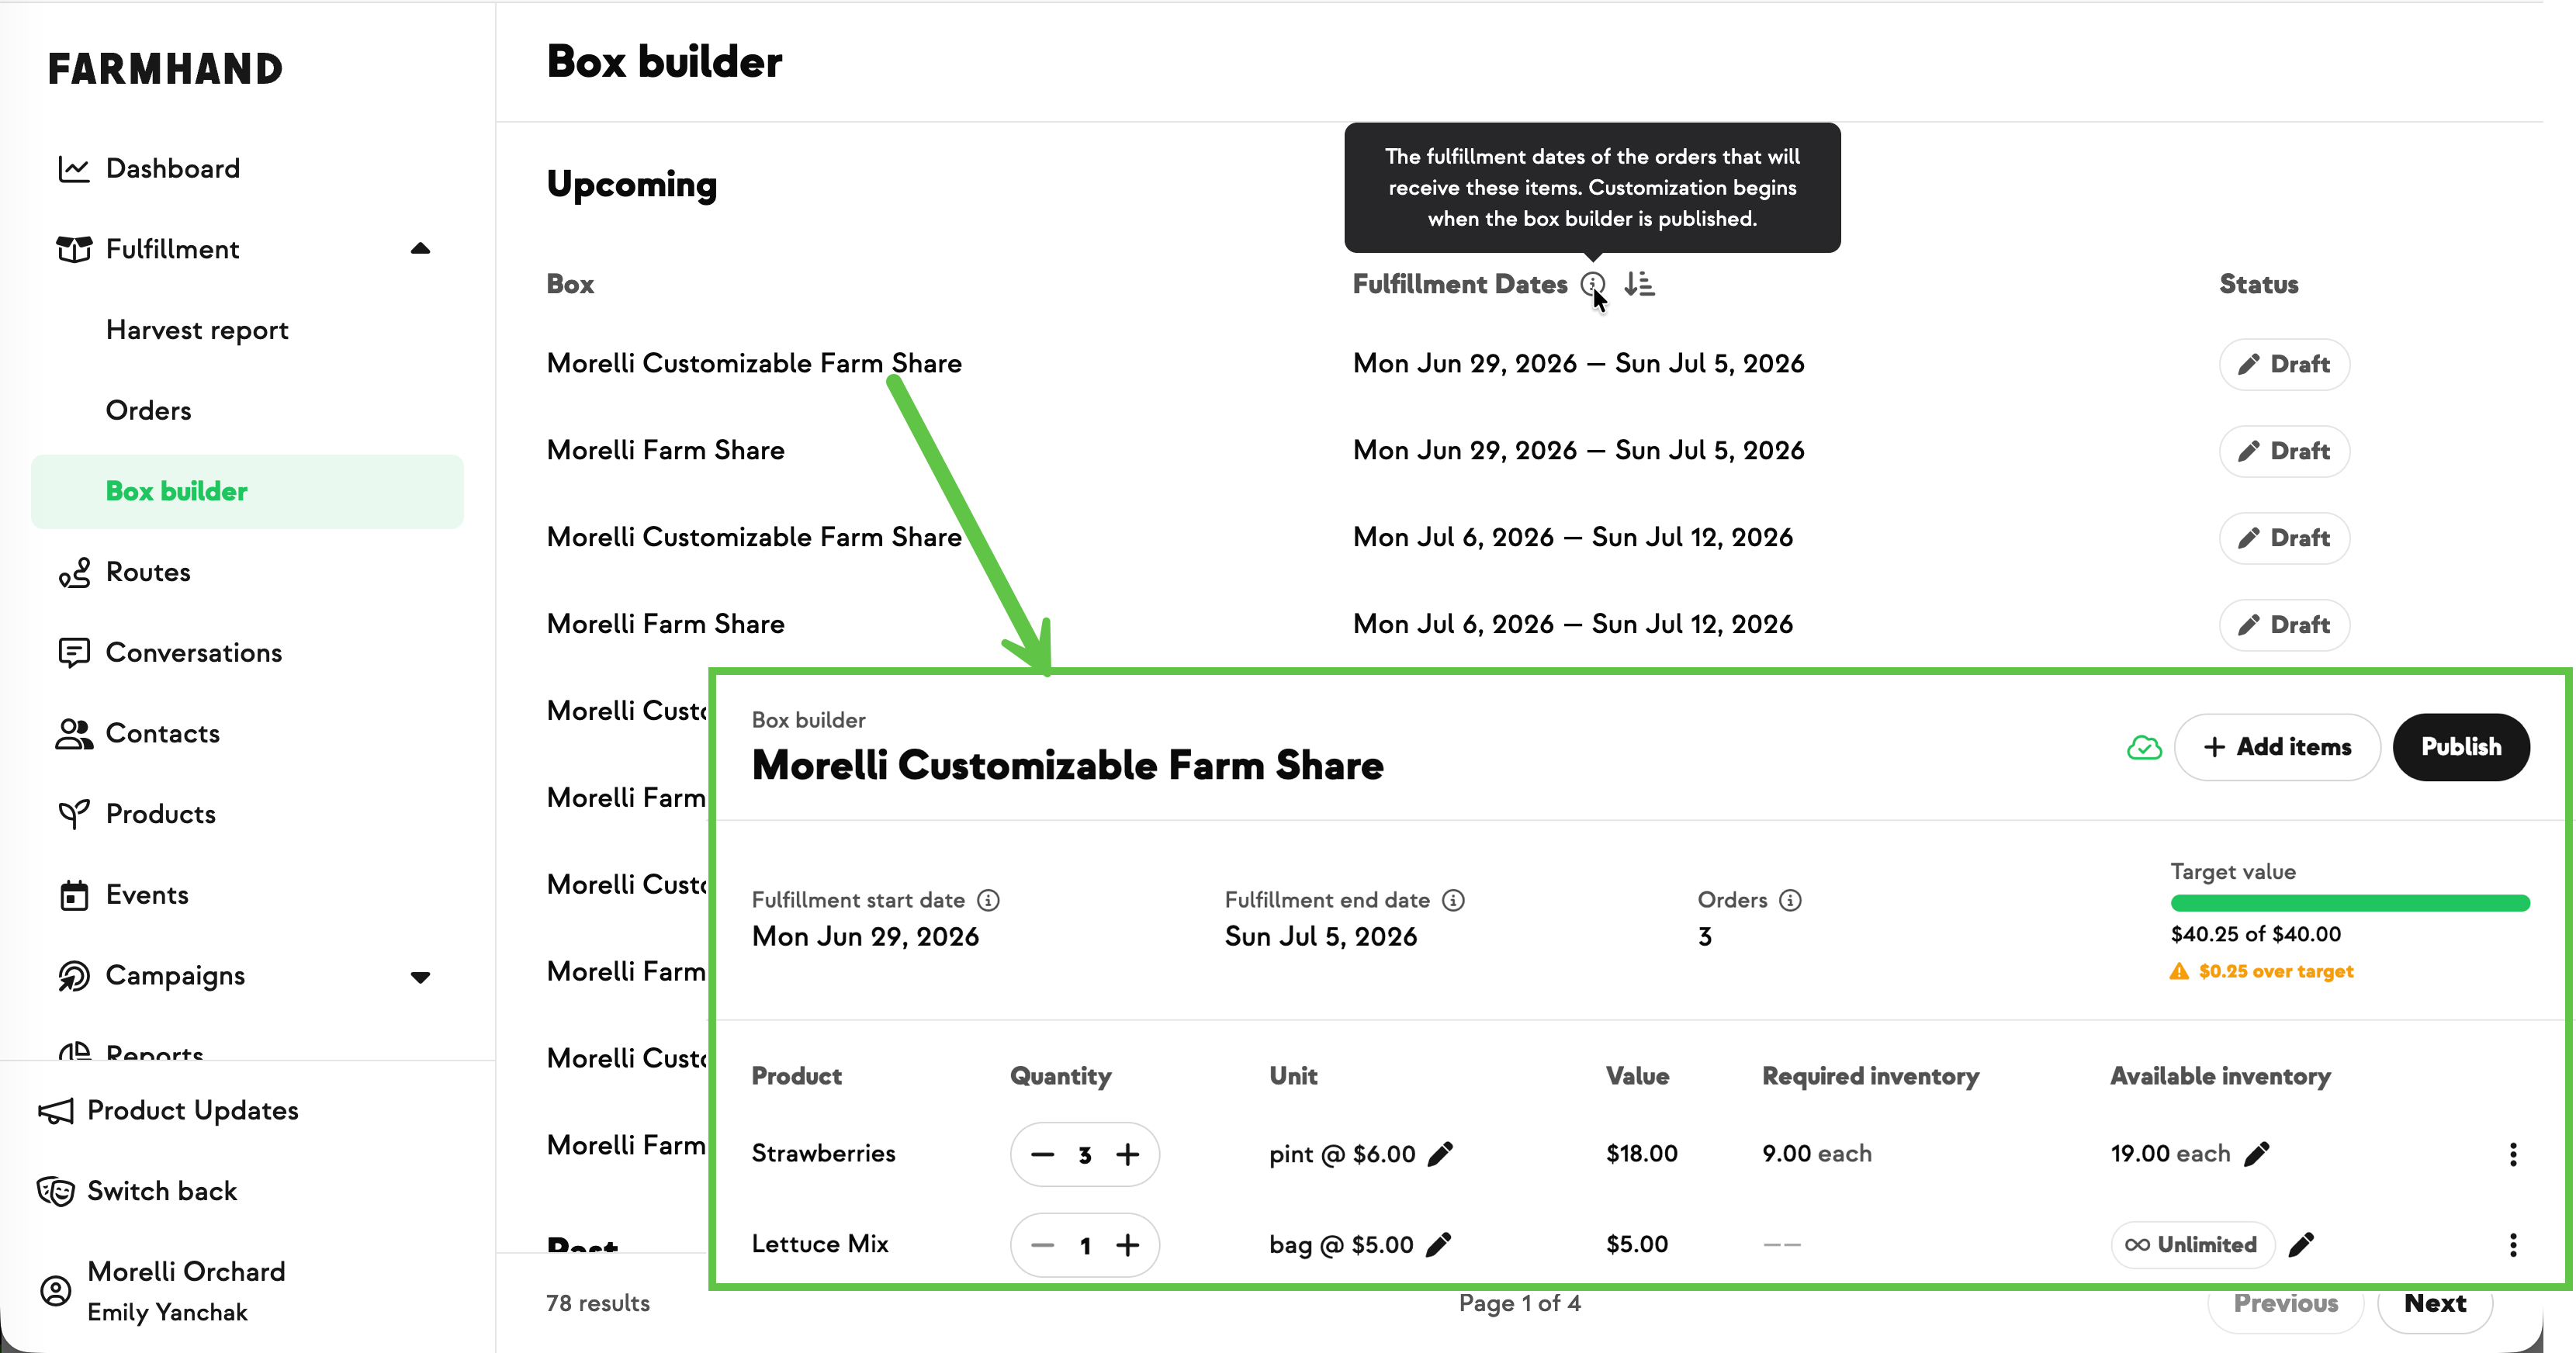
A few weeks before the season starts, the box builder shows the upcoming boxes for each share size. Pick the size you want to build — you'll see the target value for that share (e.g., $25, $40).
Step 3: Add items to reach the target
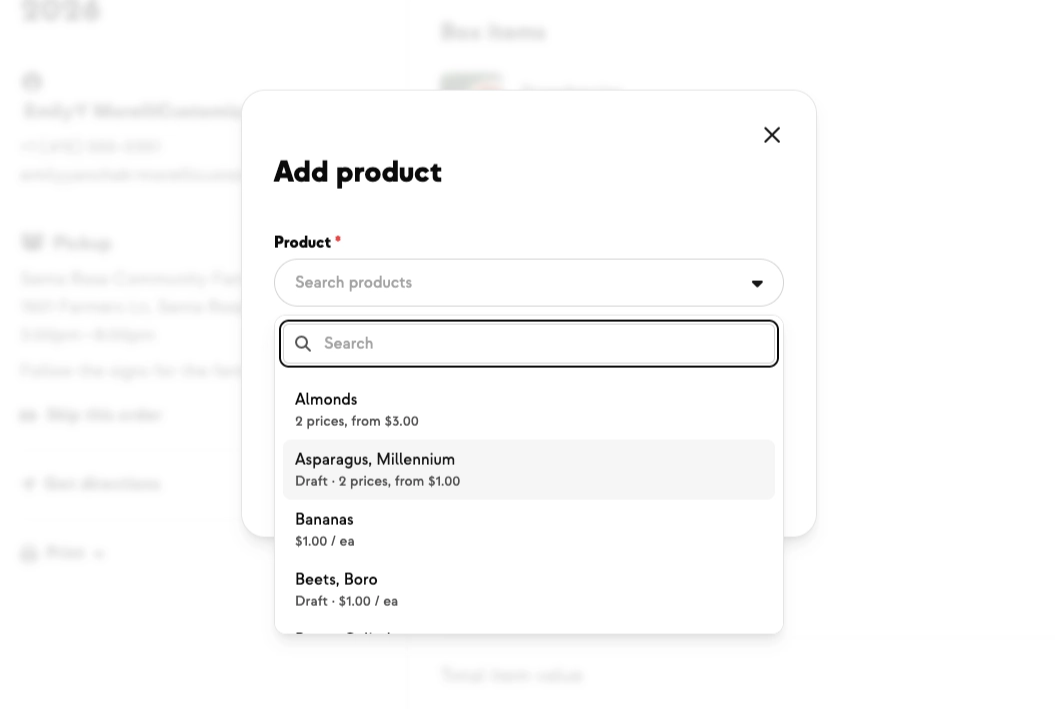
Click into the box and start adding items from your published products. Add varieties as you go (e.g., four colors of carrots for a rainbow, a head of lettuce, gala apples) until you hit the target value.
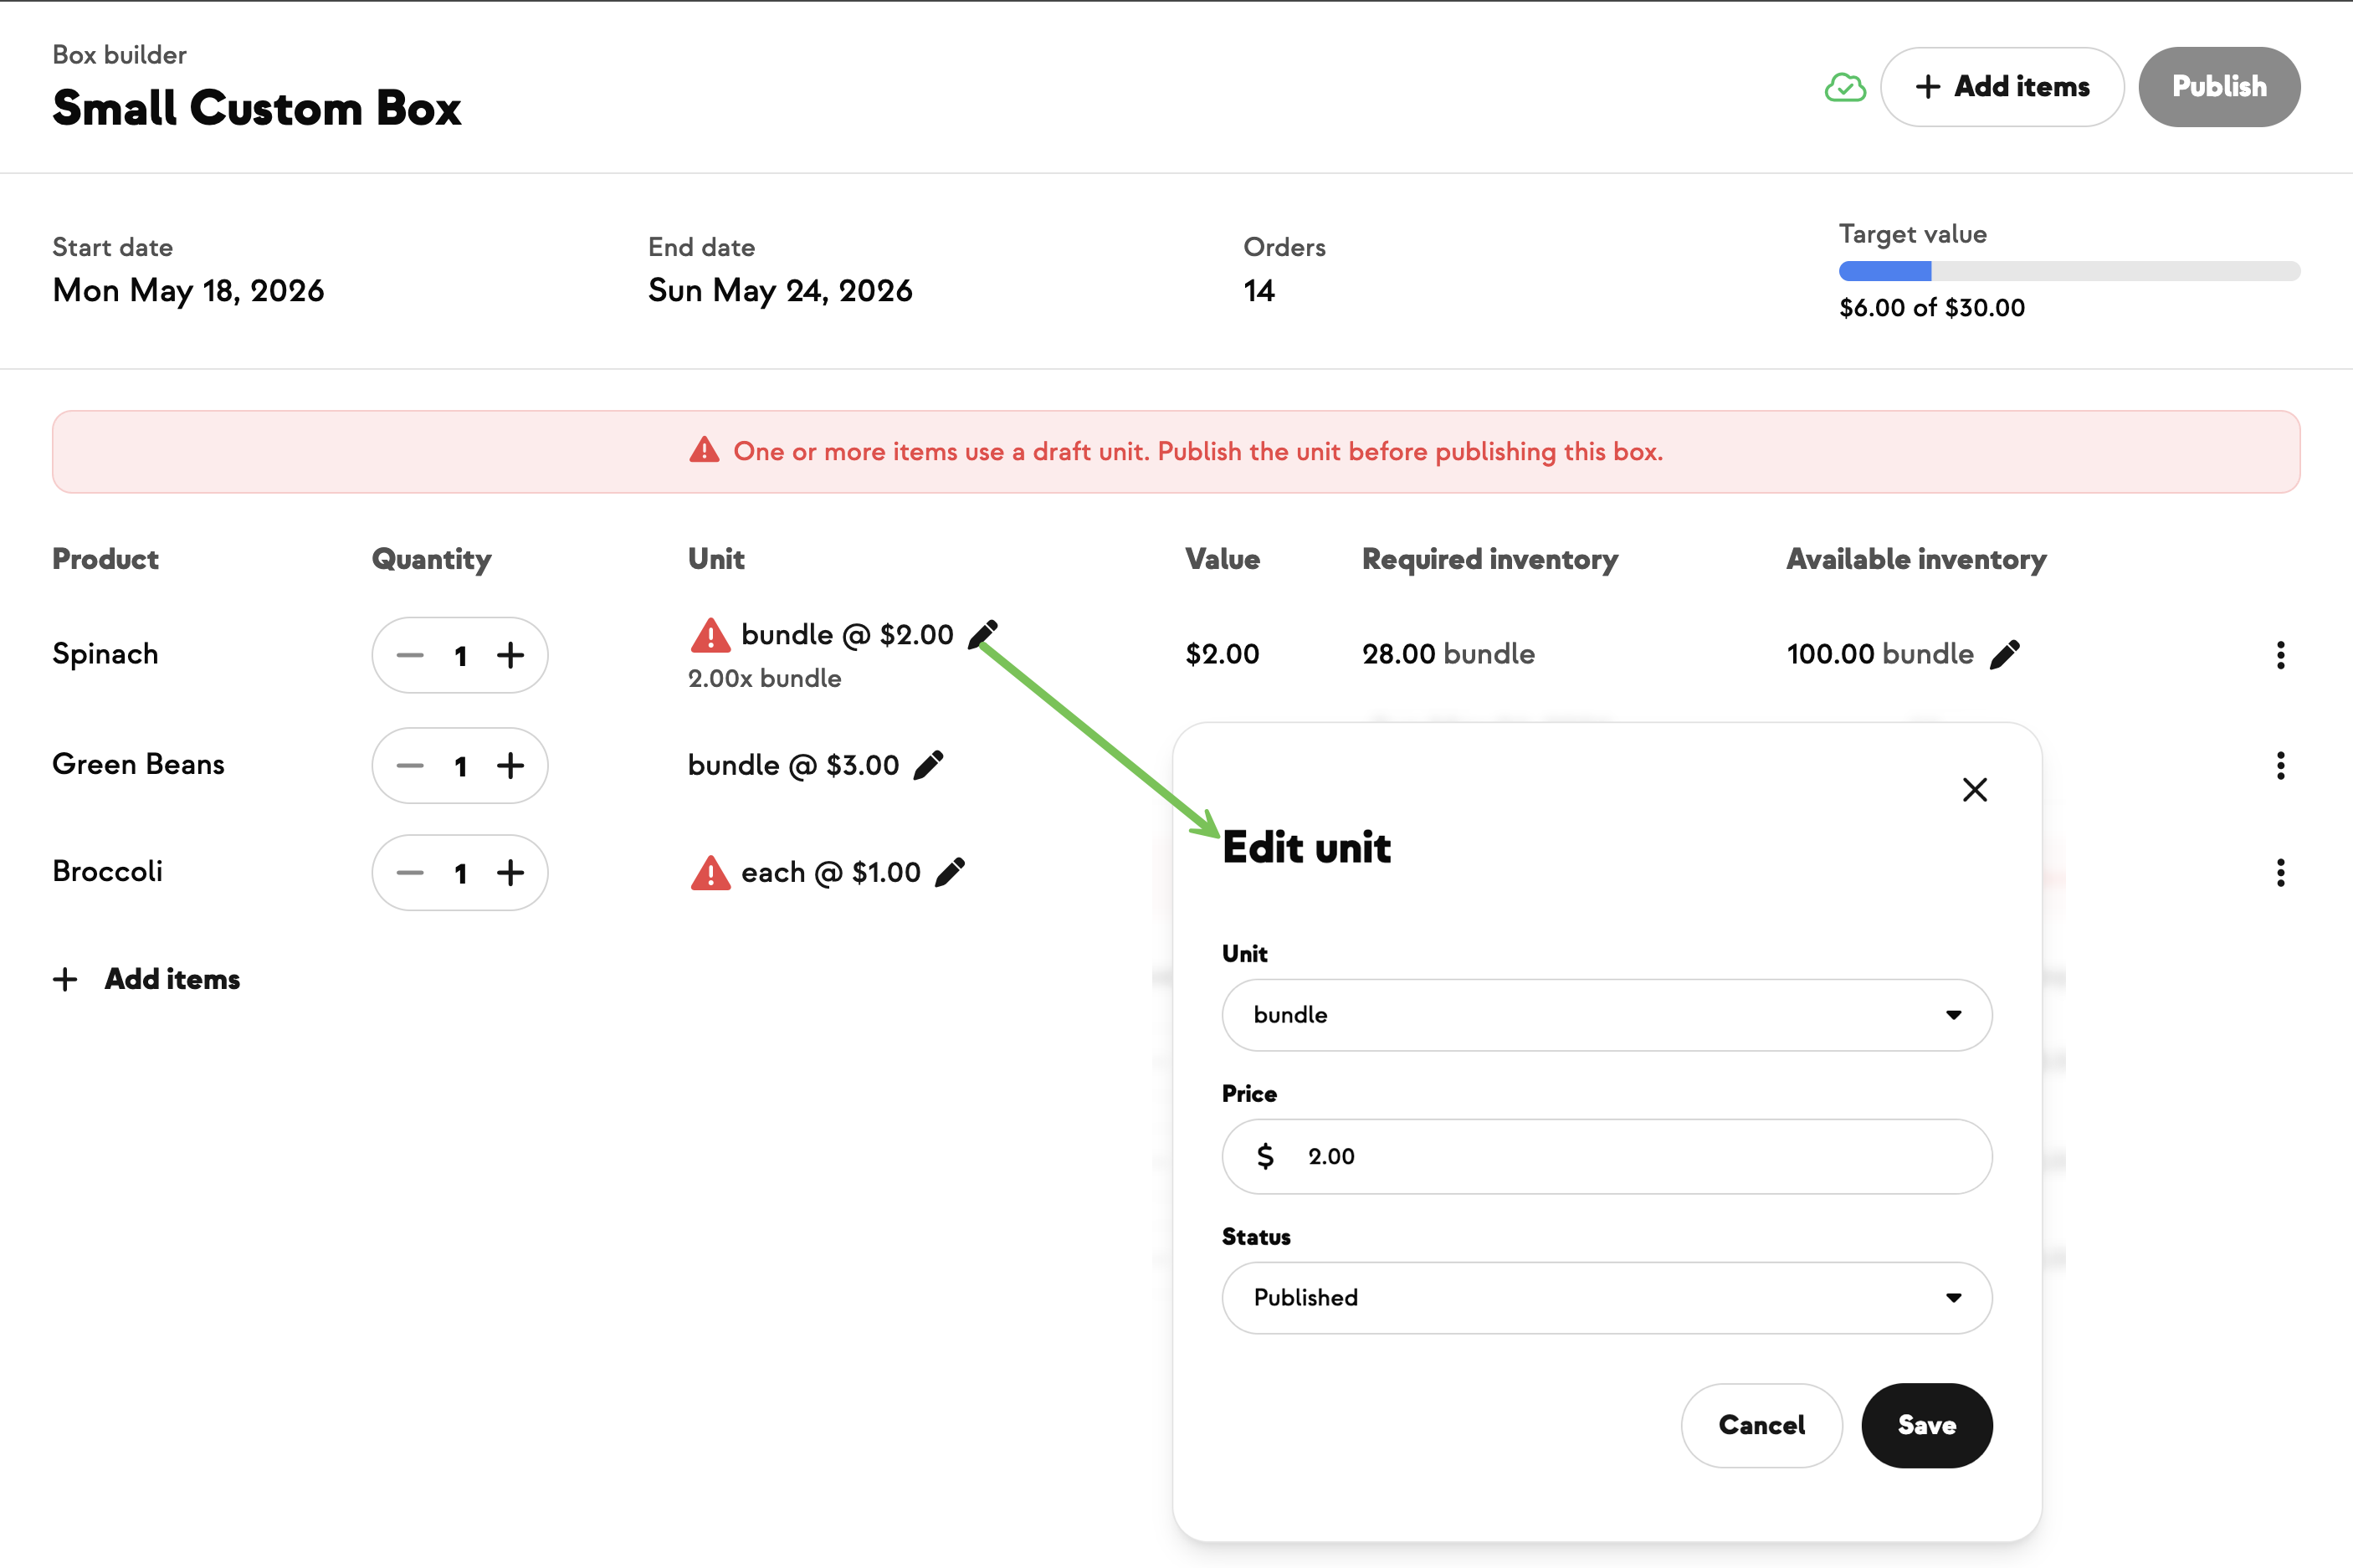
Step 4: Adjust pricing and quantities for the week
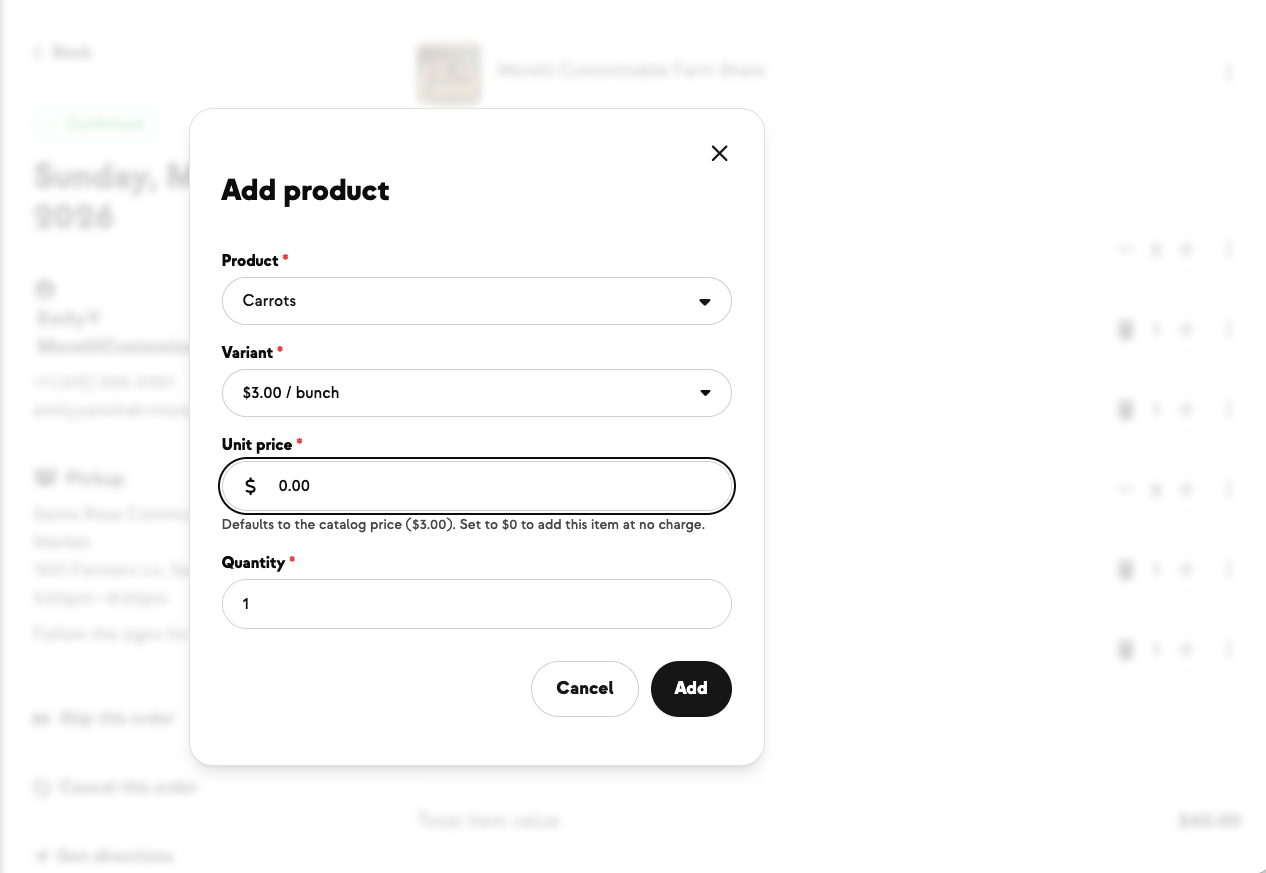
Items inherit the price and units from your product page, but you can override them for this specific box — bump a bunch of carrots to $3.50, change the quantity, swap a variety. Keep adjusting until the box totals at or near the target.
Step 5: Confirm your default box and swap options
What you've added is the default box — what every member of that share size gets if they don't customize. Everything else you have published becomes available as a swap option in the store.
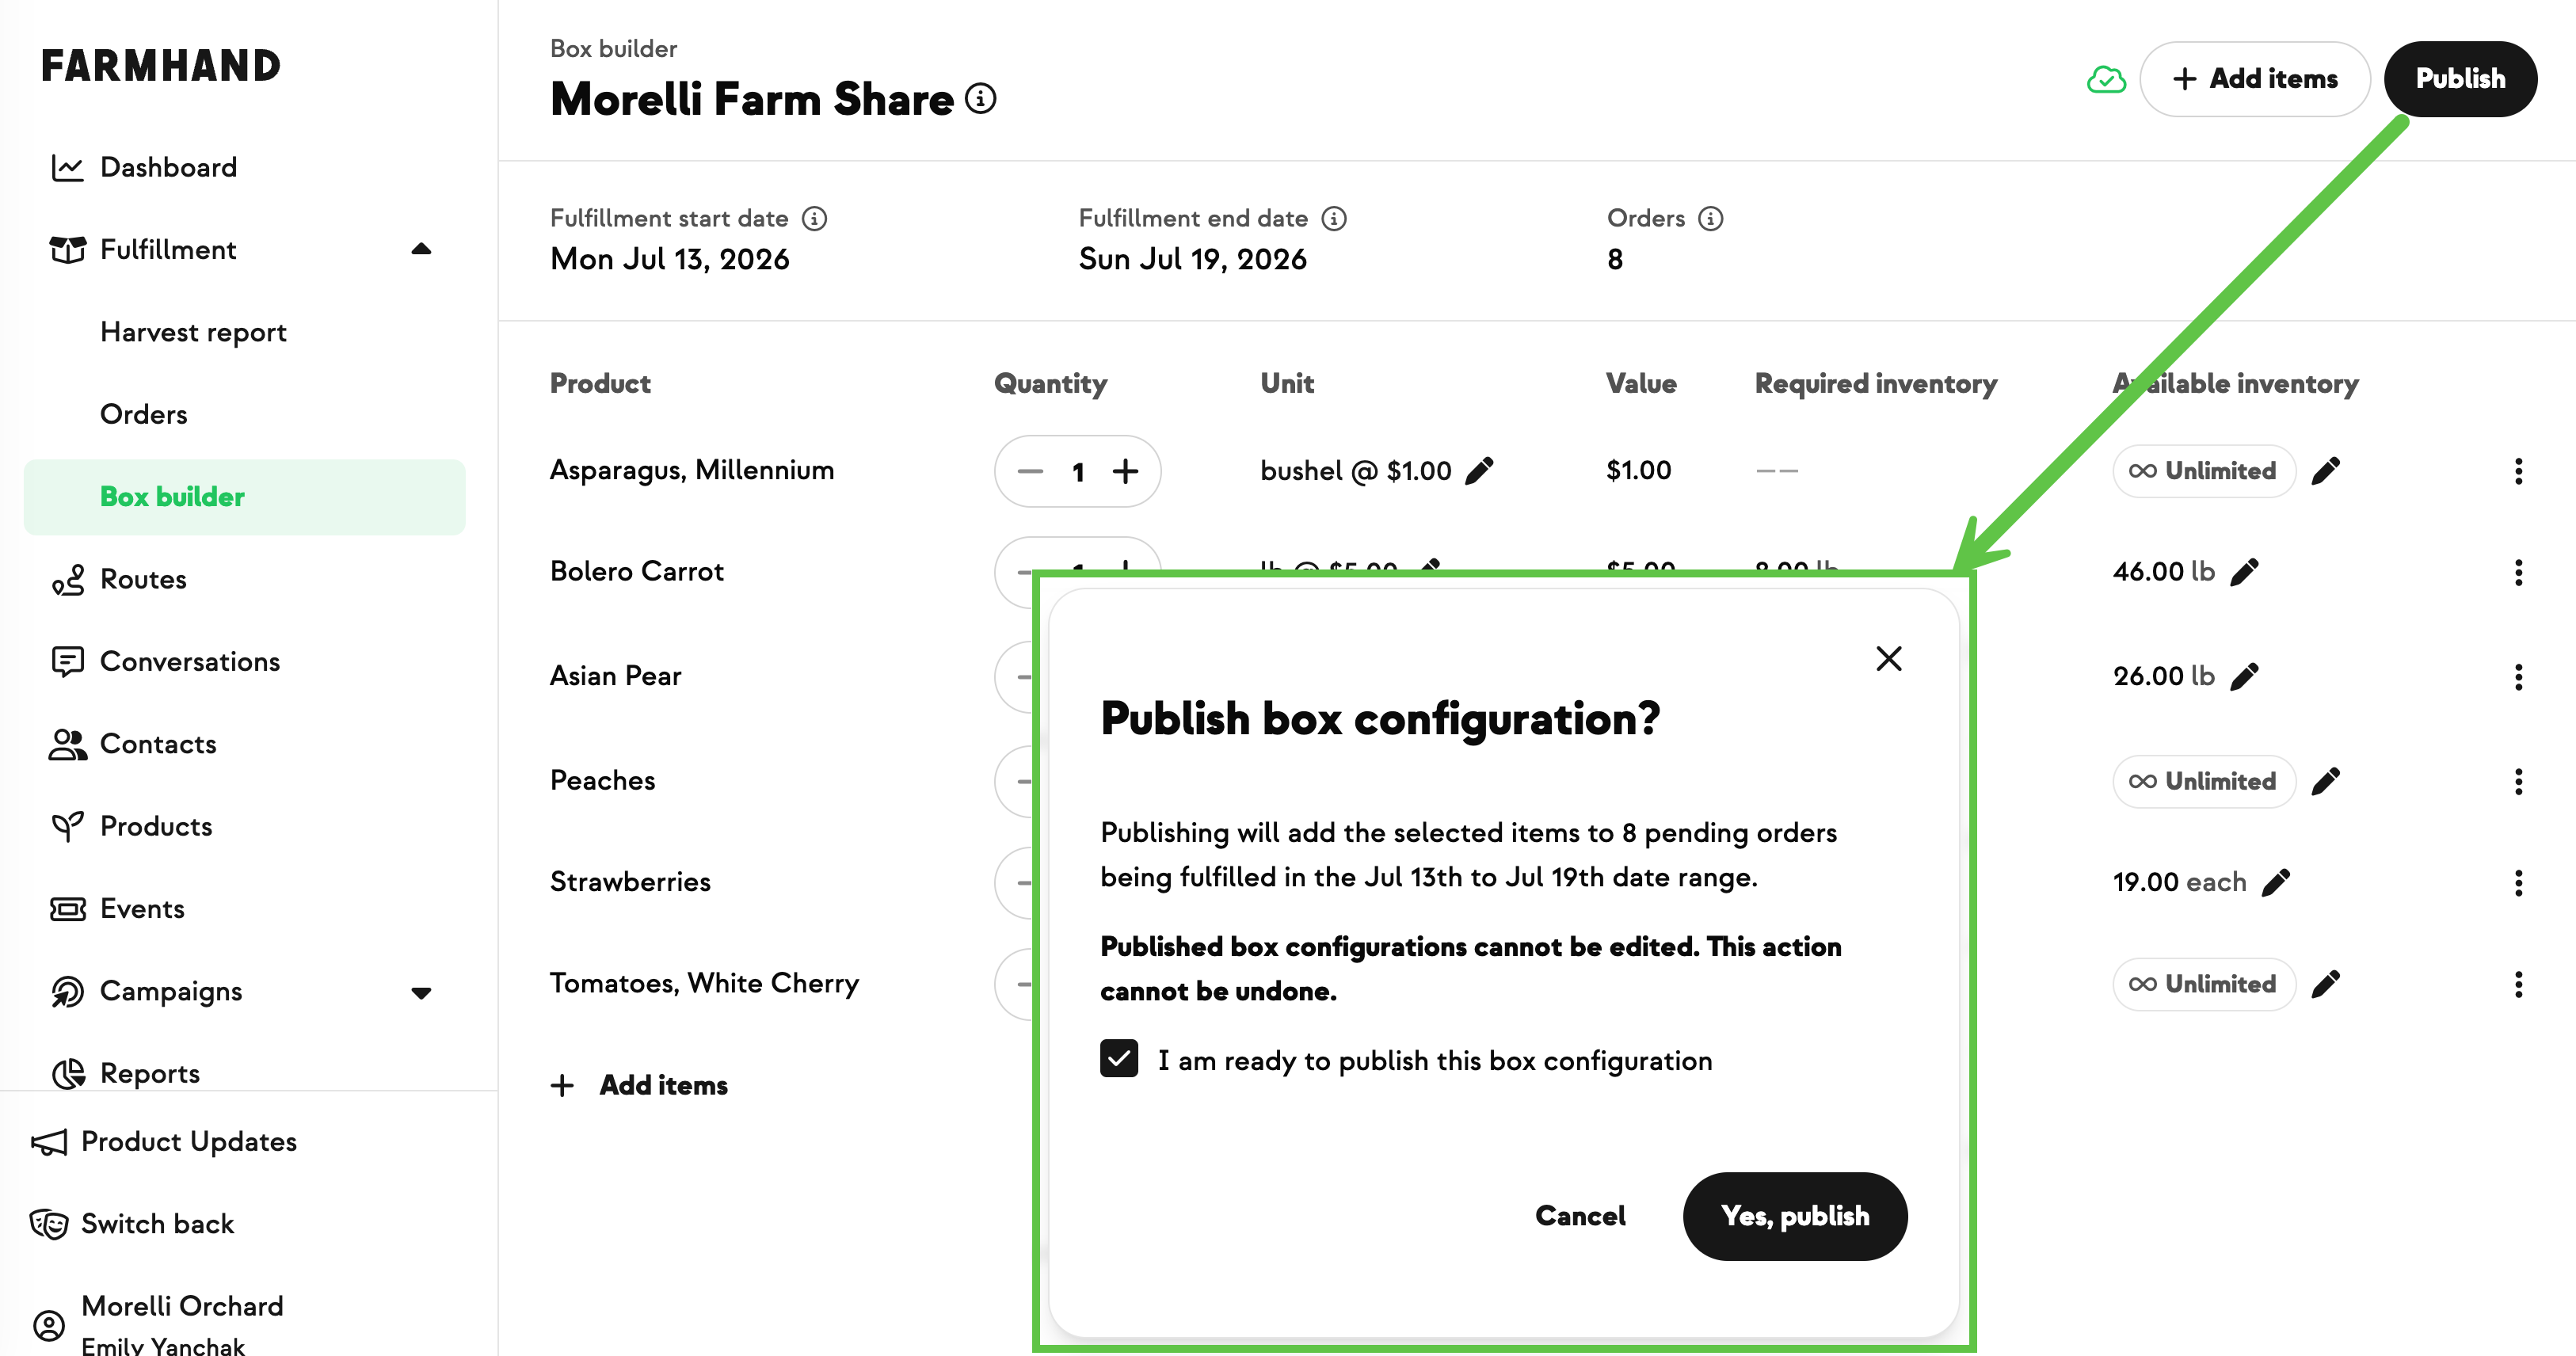
Step 6: Publish
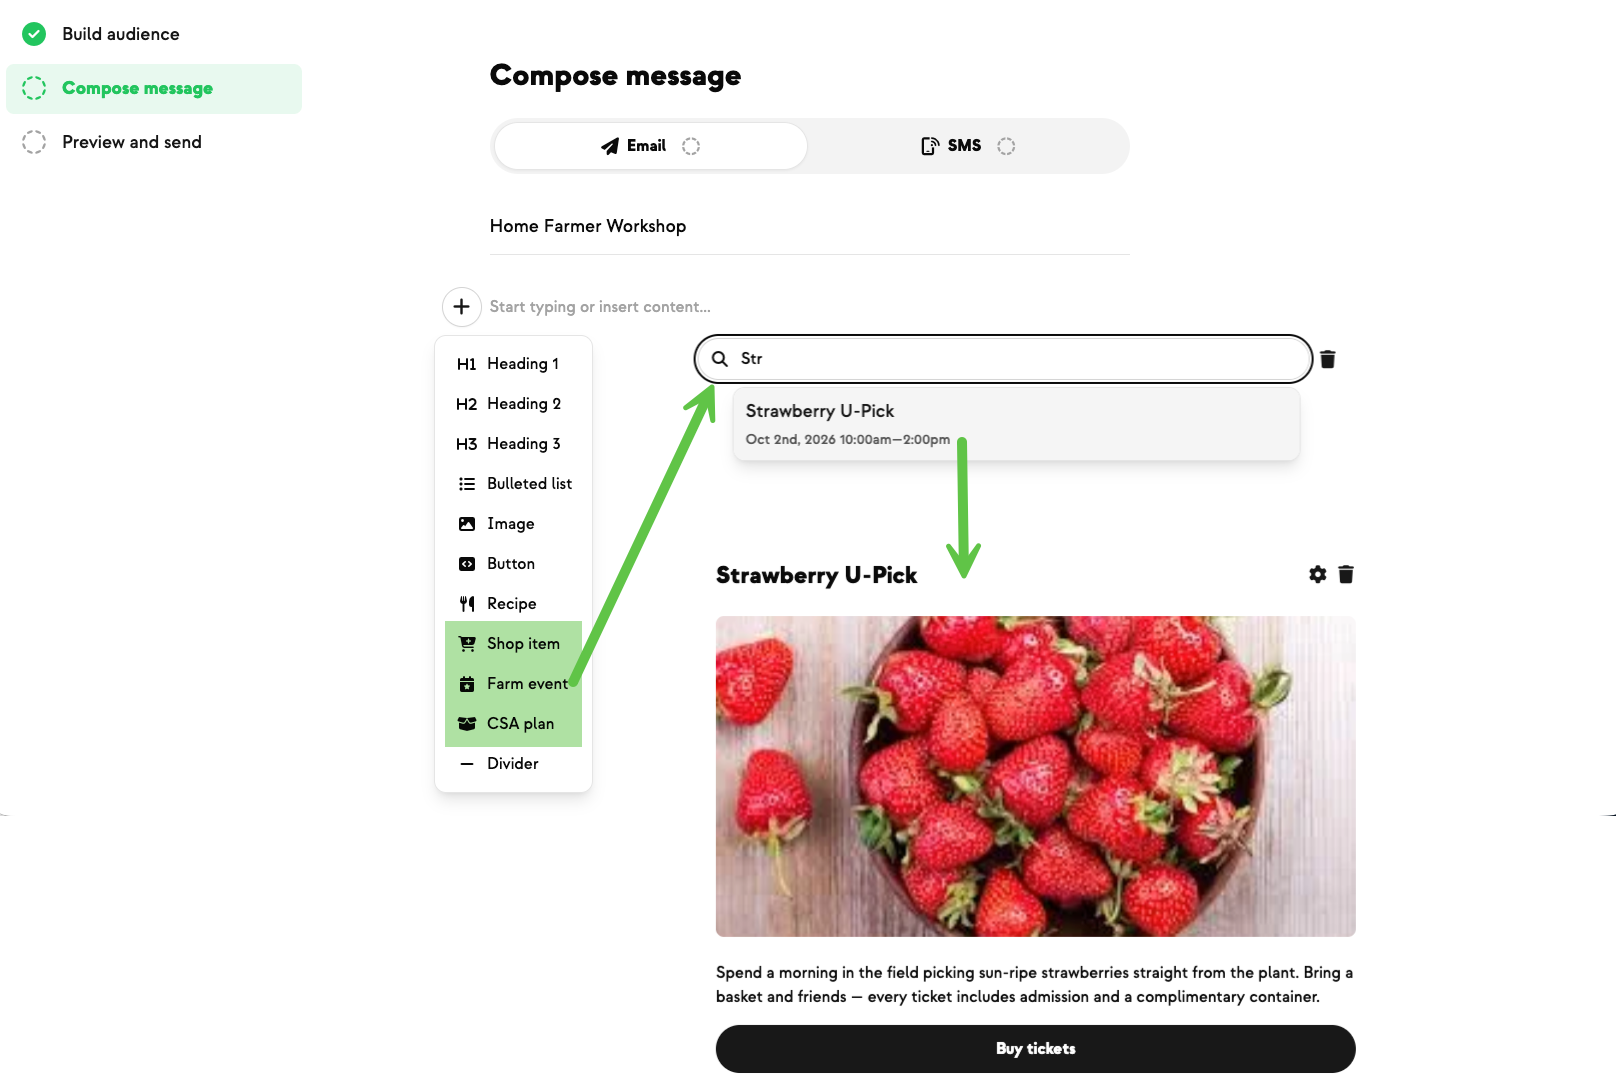
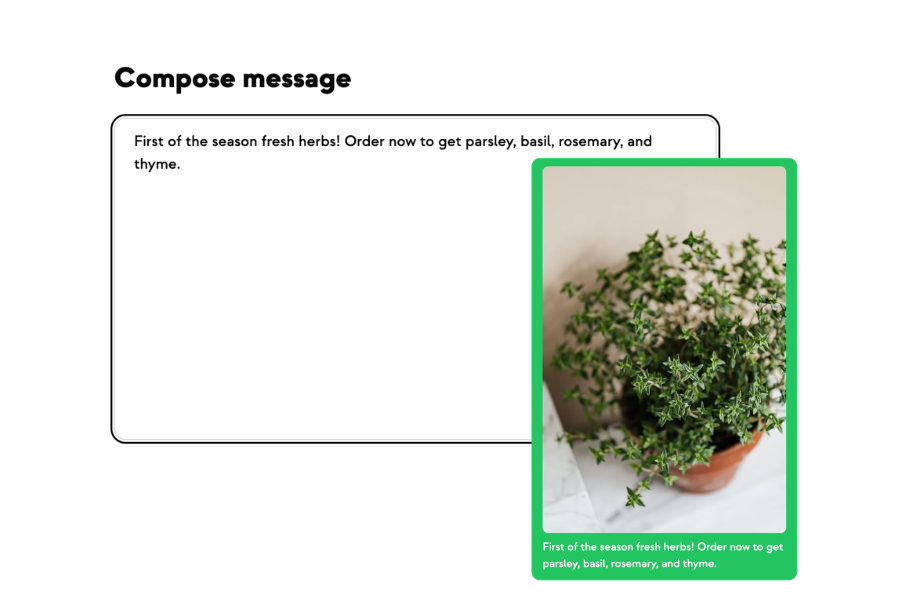
Hit publish. The box is pushed to customers' order pages, where they can remove items, add extras from the store, or leave it as-is. It also syncs with the newsletter so your marketing message reflects the actual box contents.
Step 7: What the customer sees
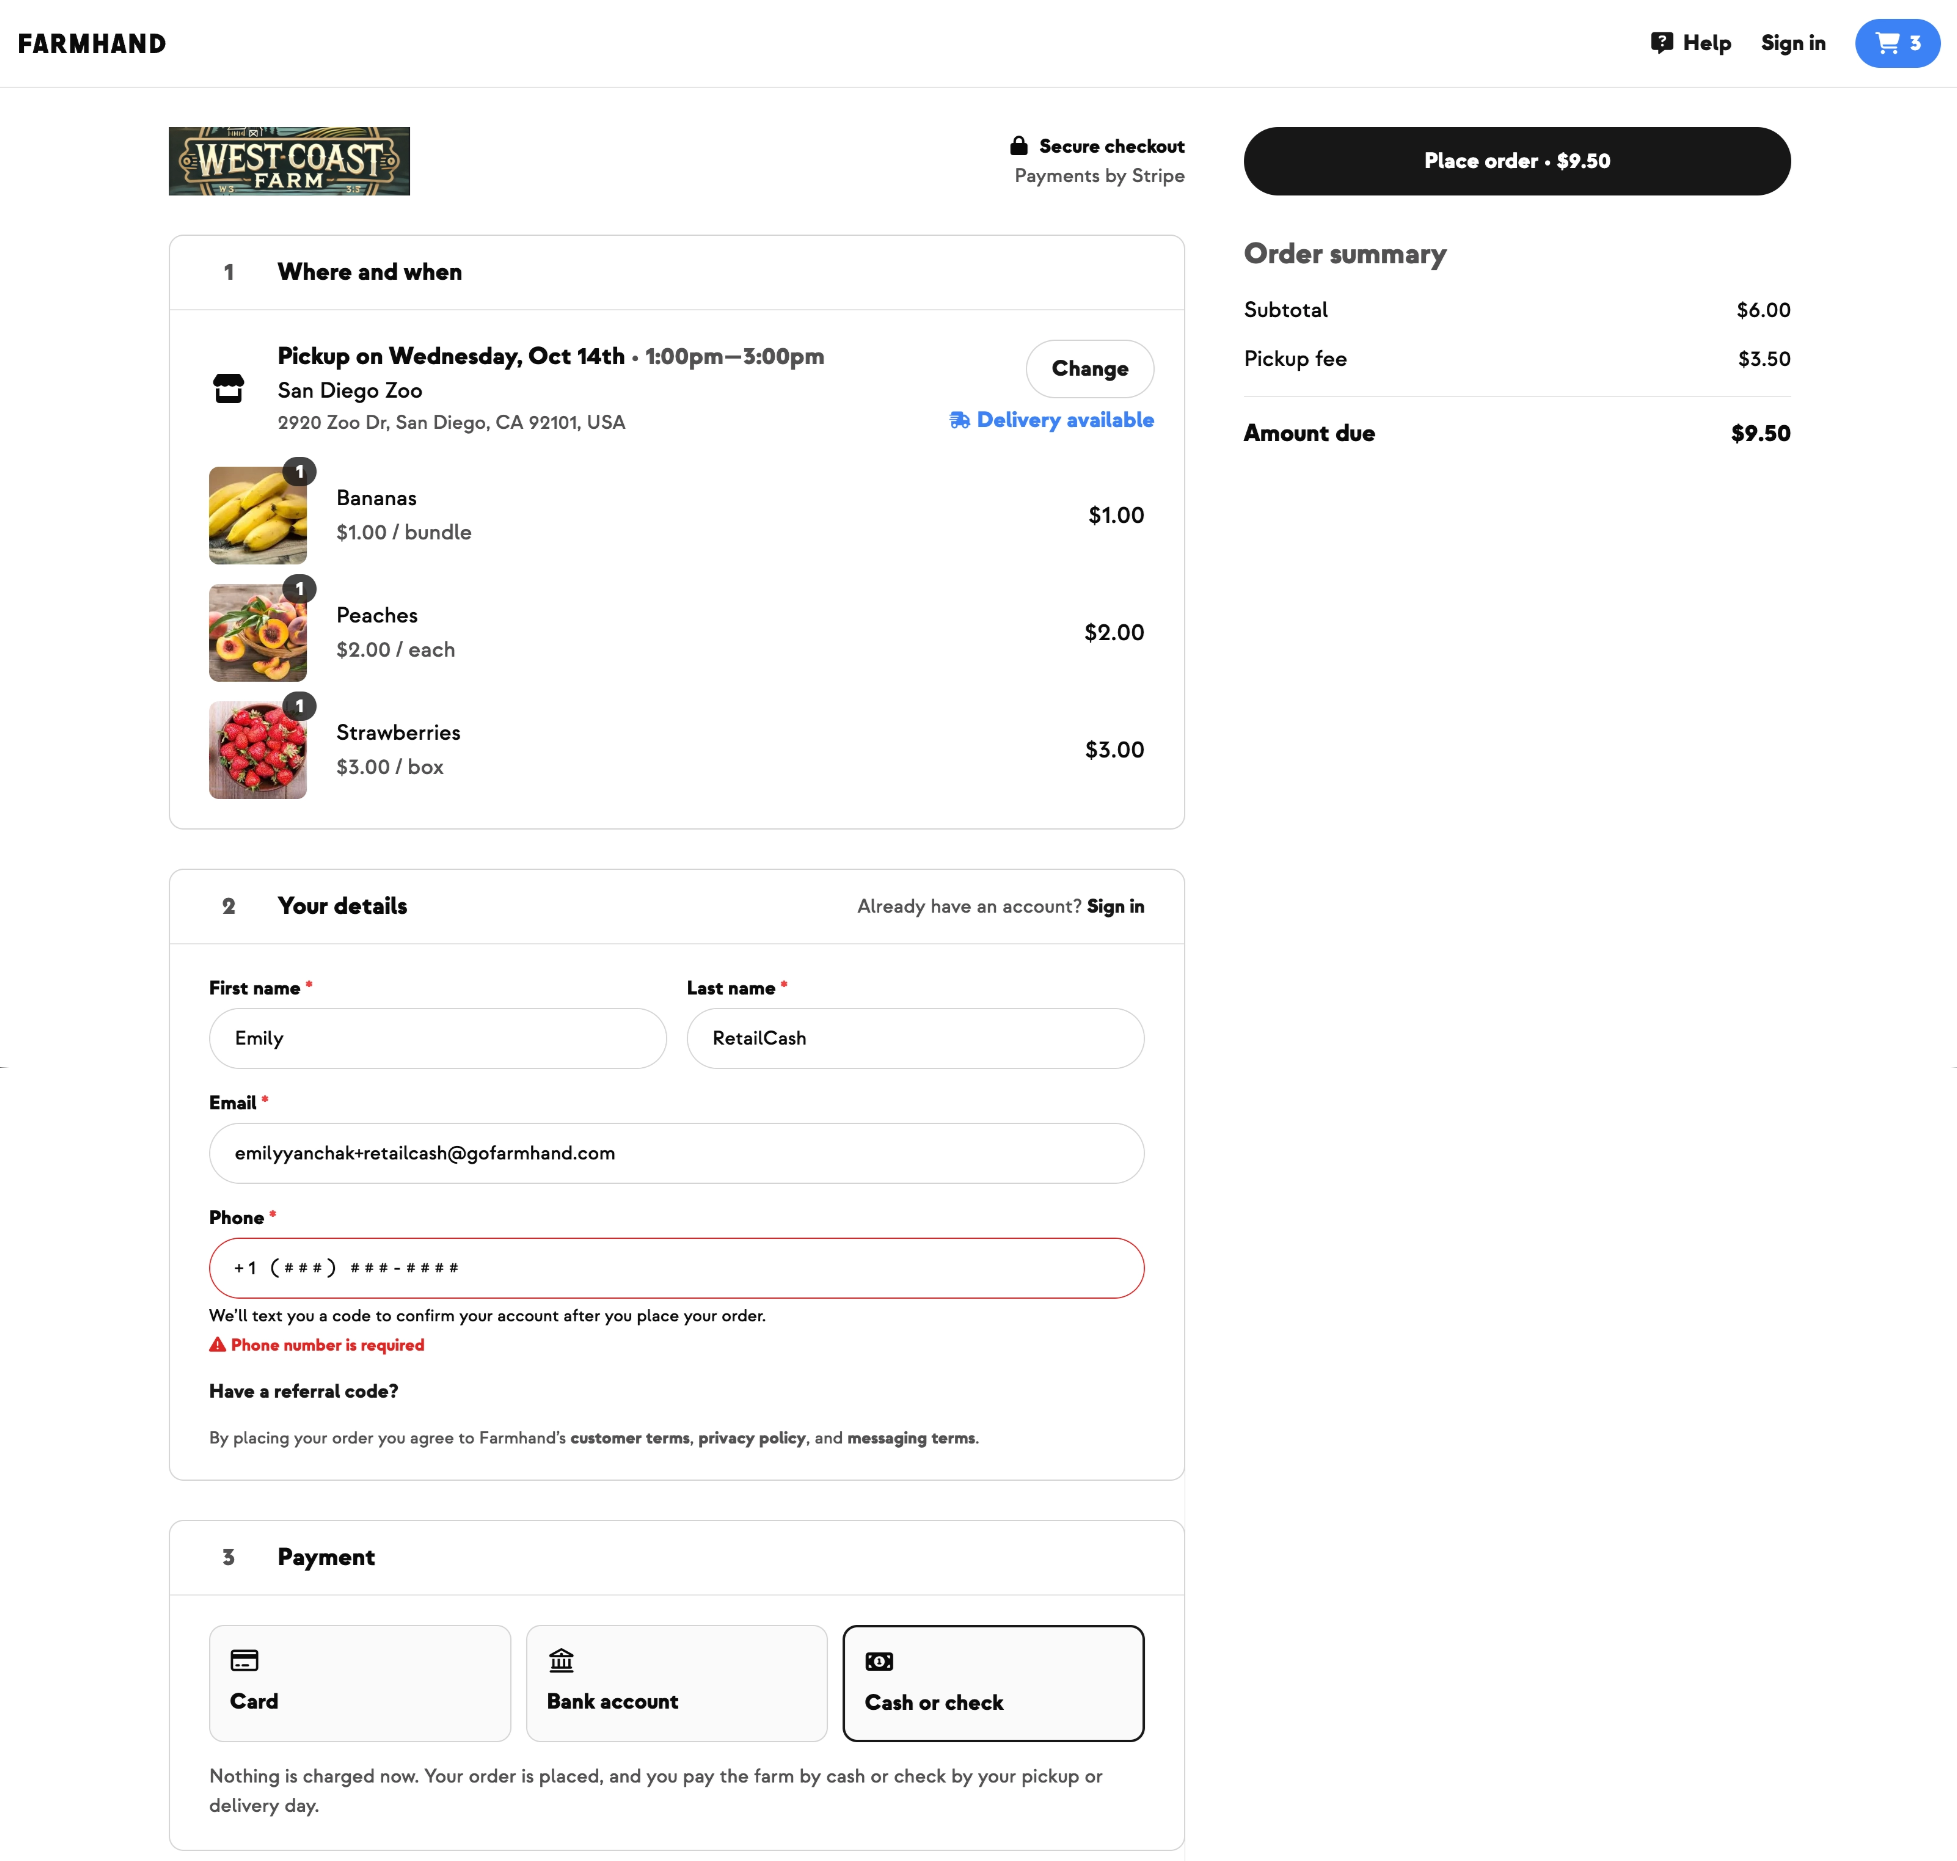
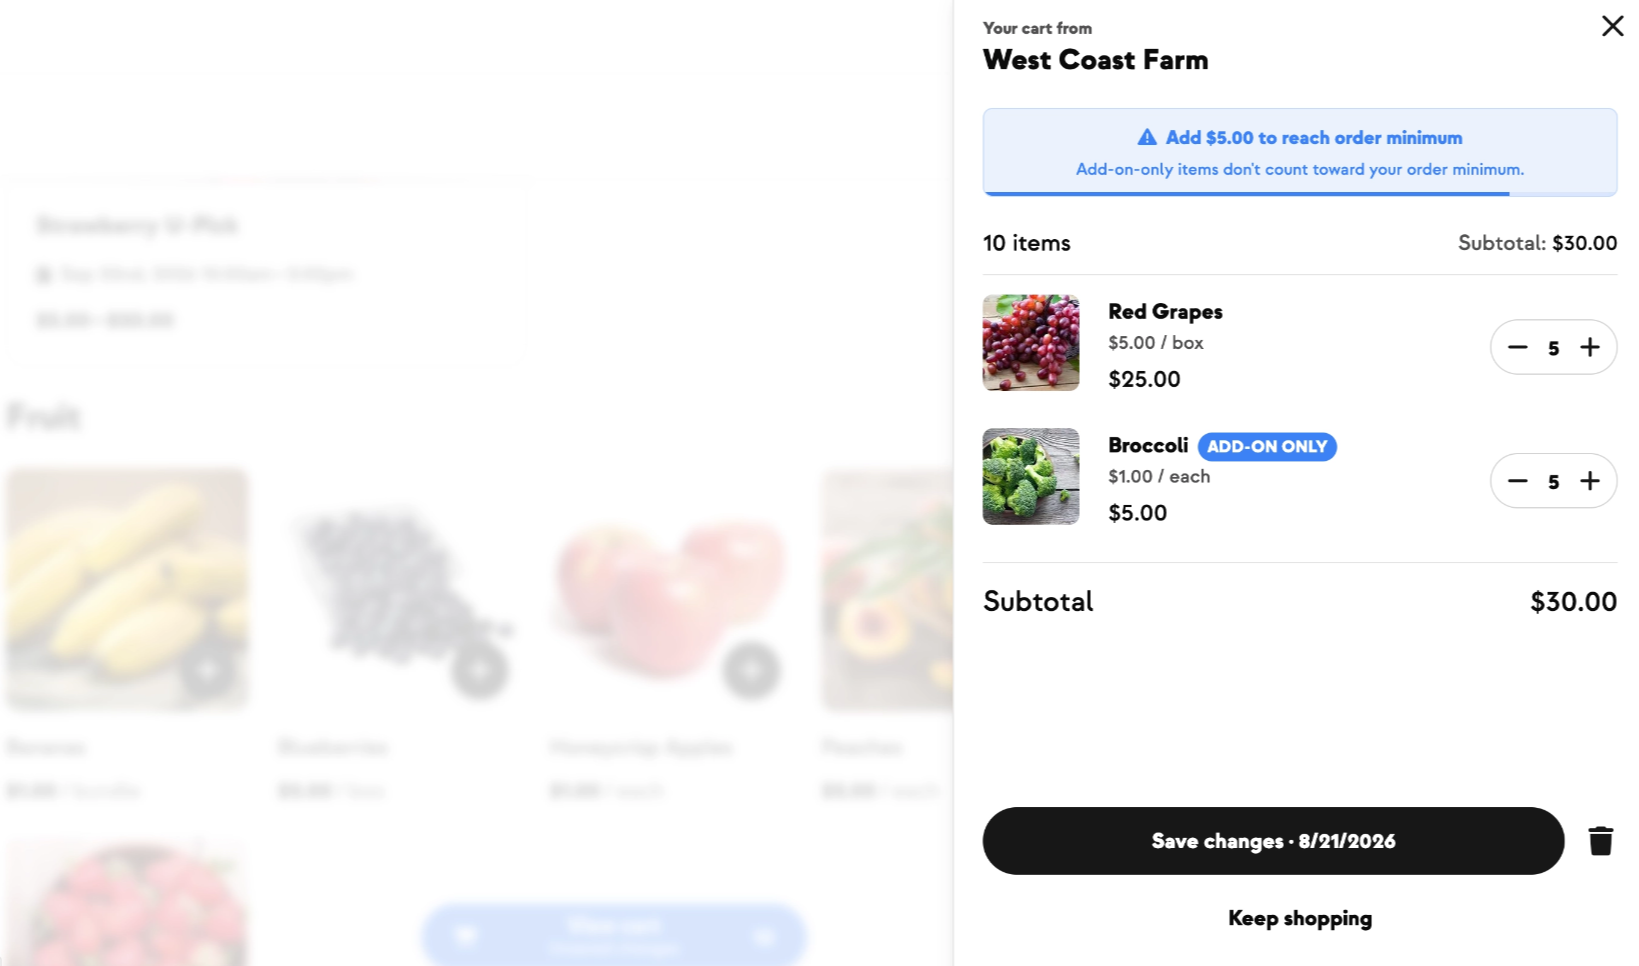
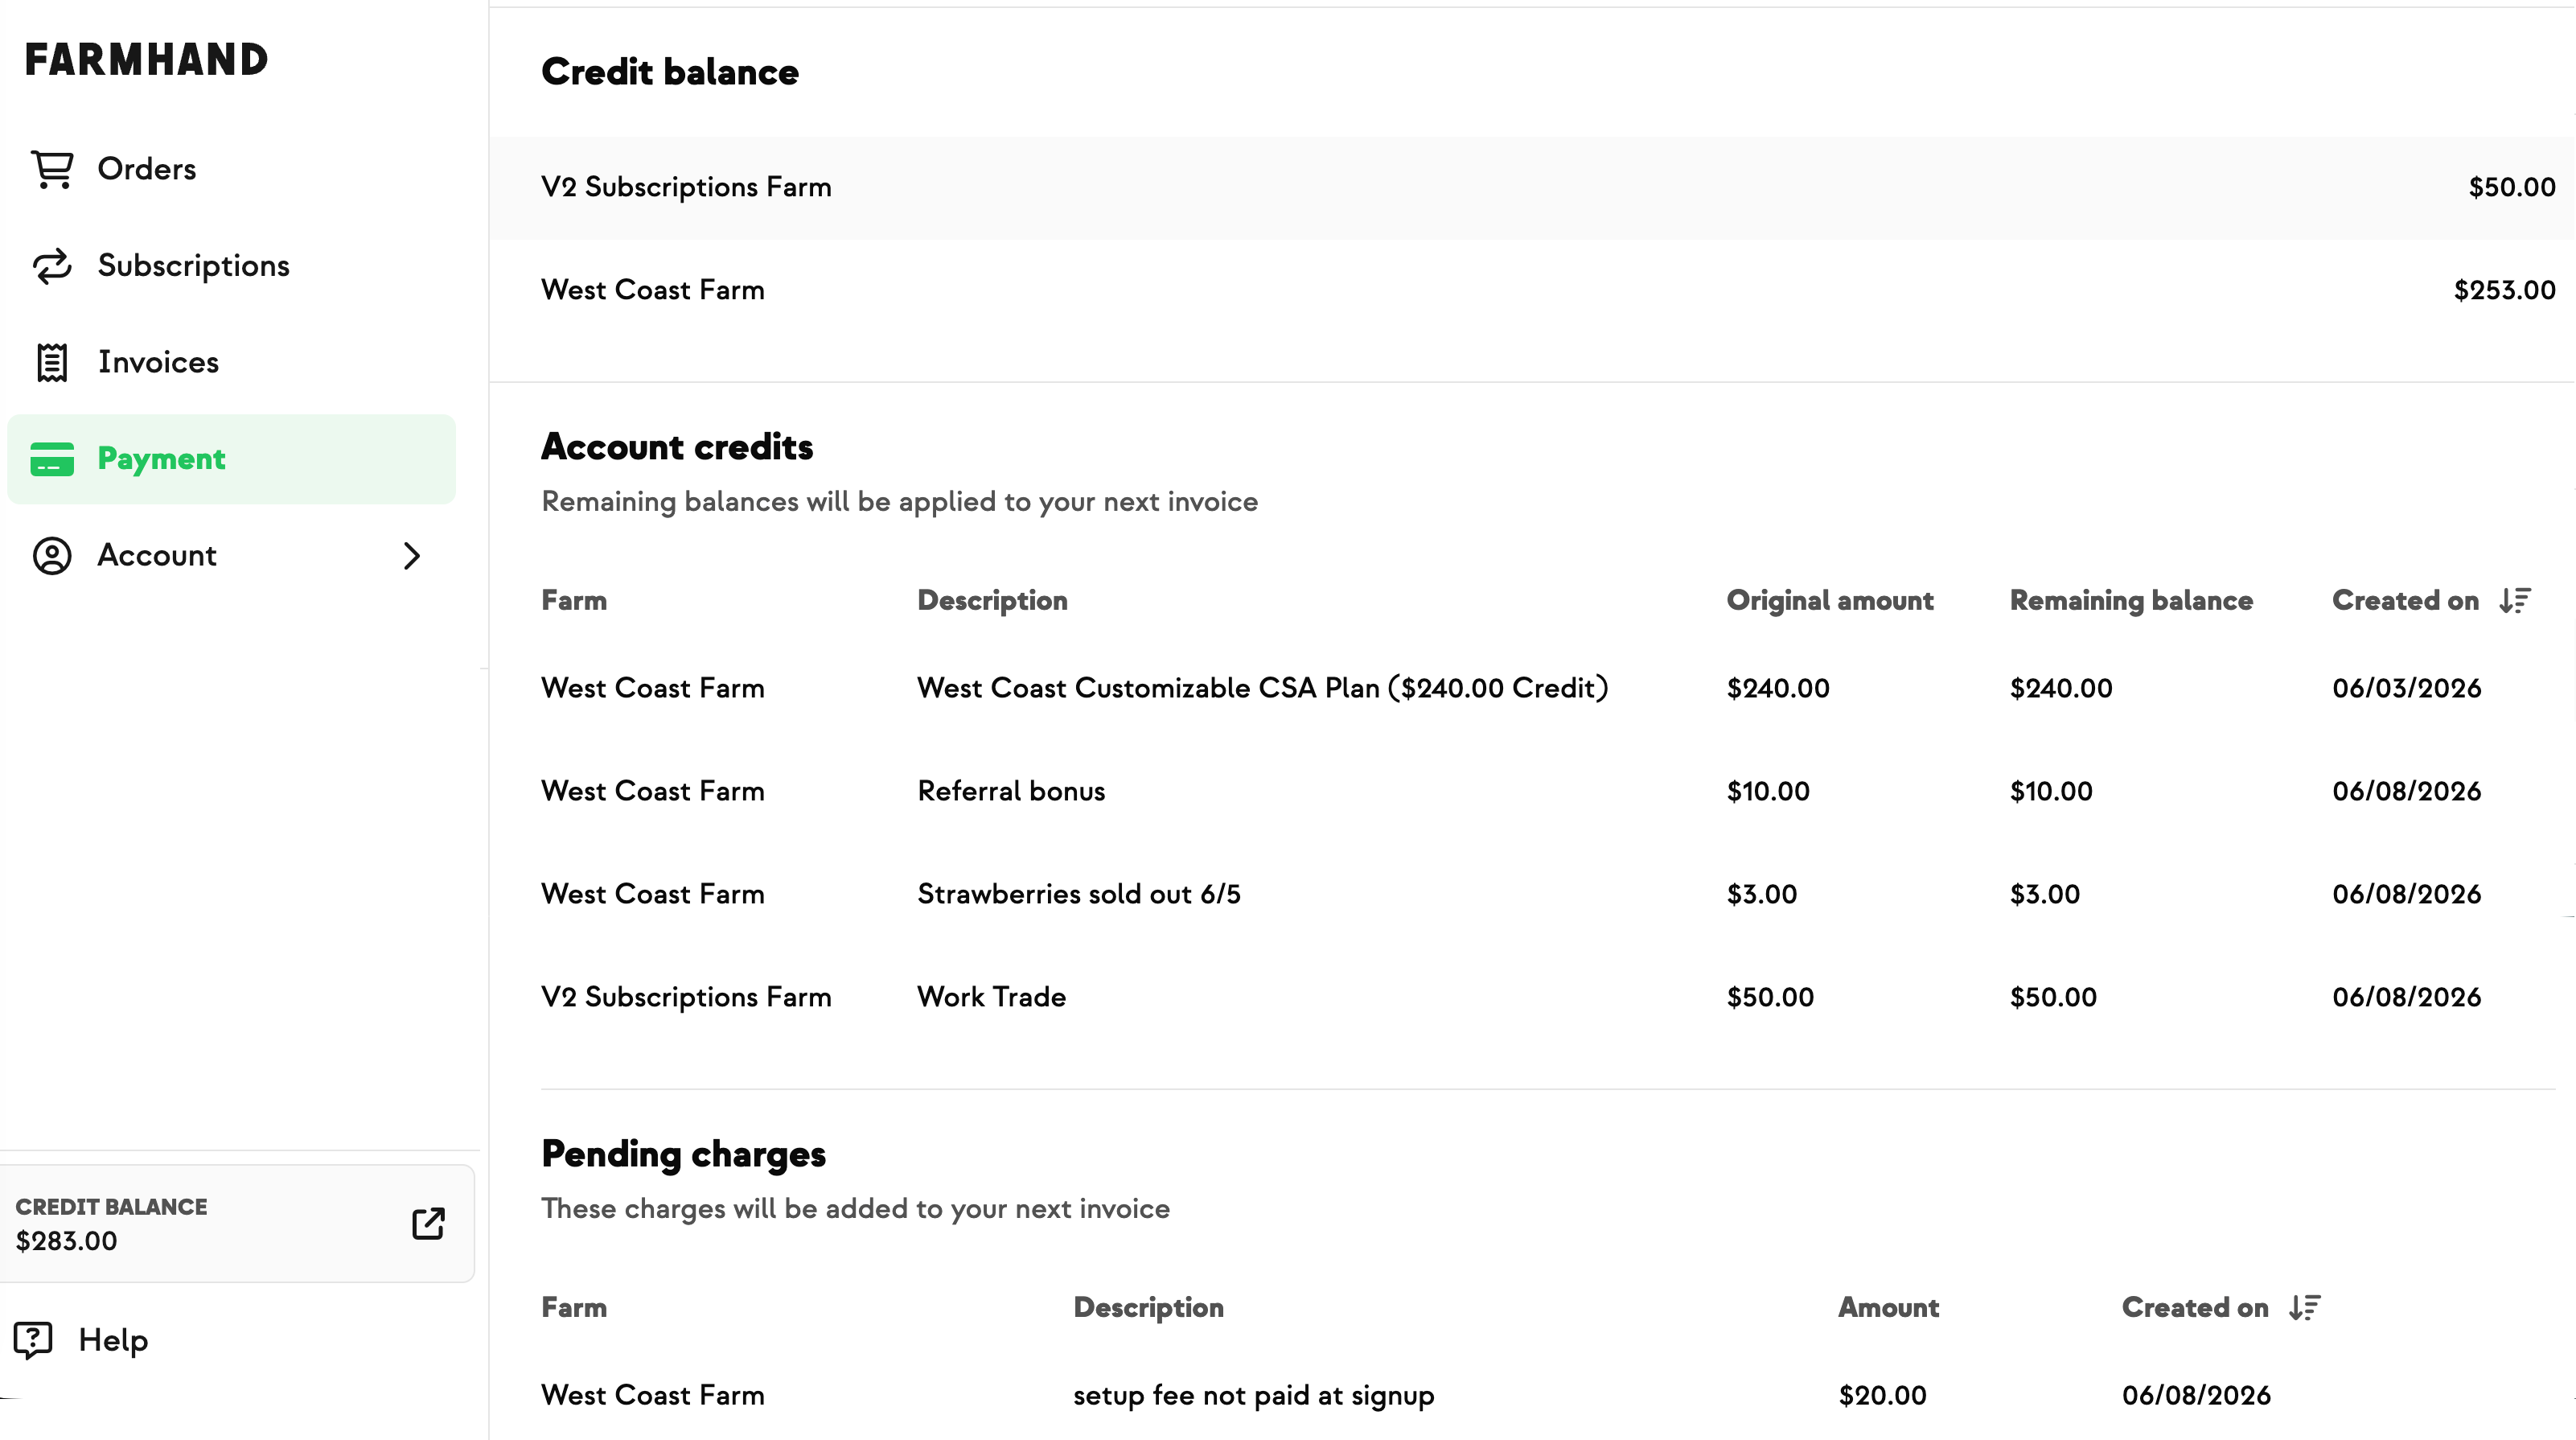
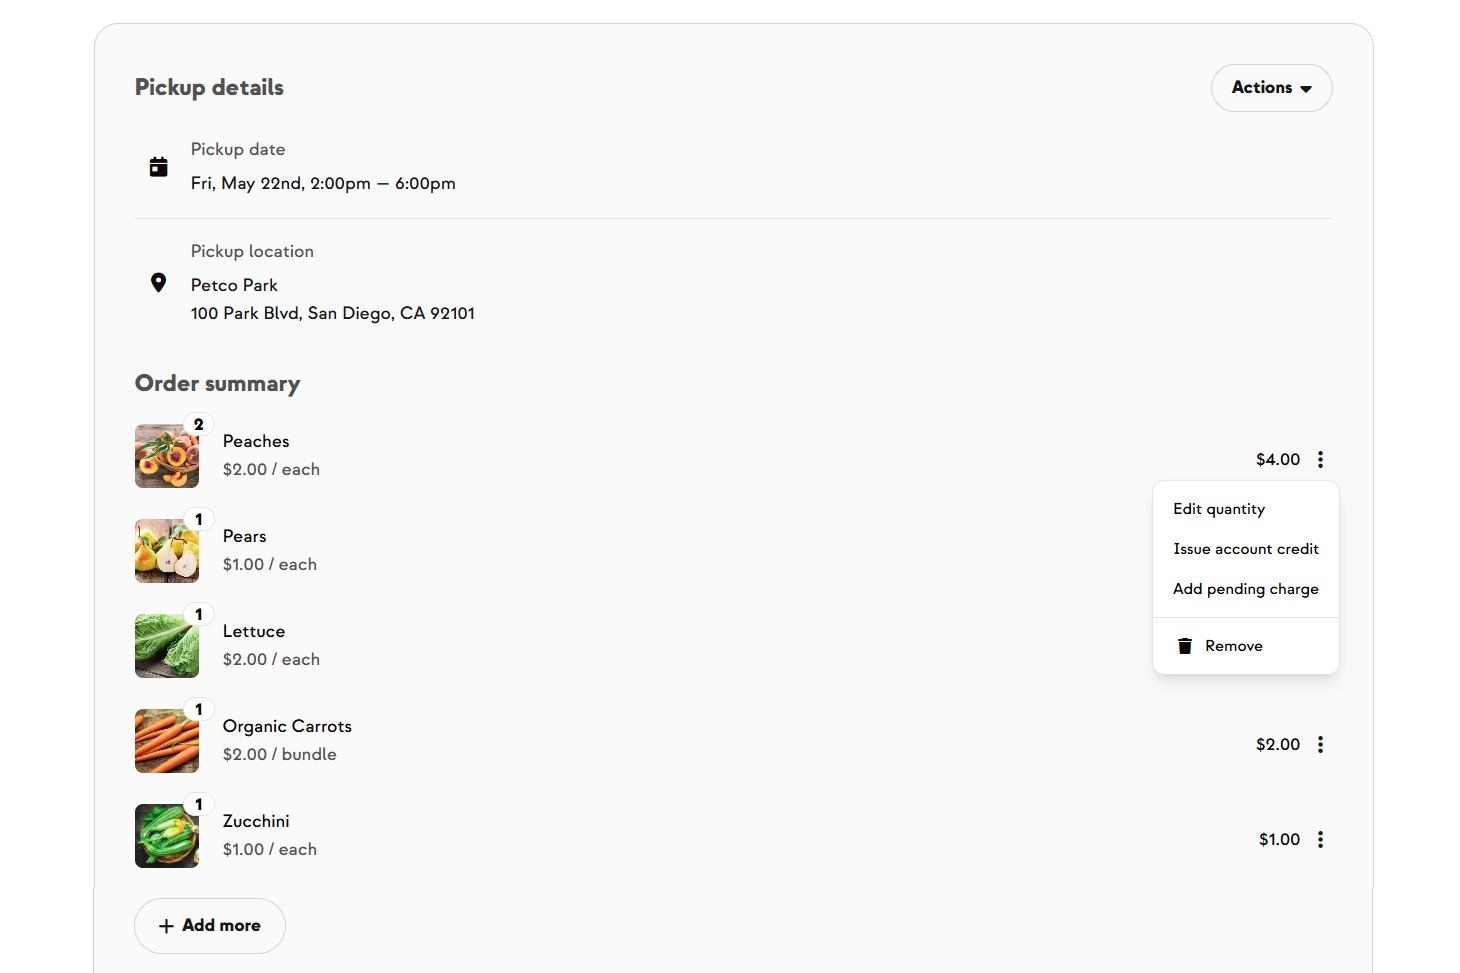
Members see the preset box on their order page along with their share's minimum order value. They can decrement items they don't want, browse the store for extras, and either draw from their credit balance or get charged at the order deadline if they go over.
Step 8: Print packing slips or labels
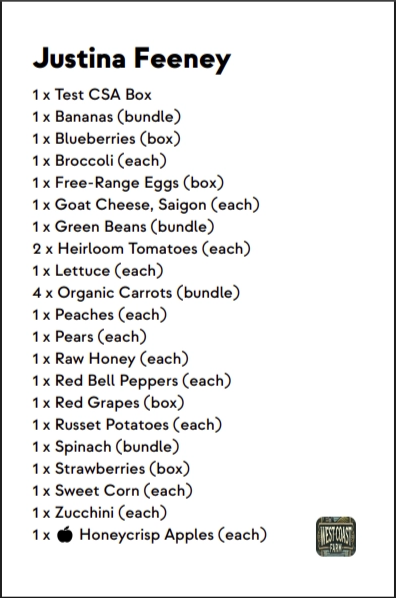
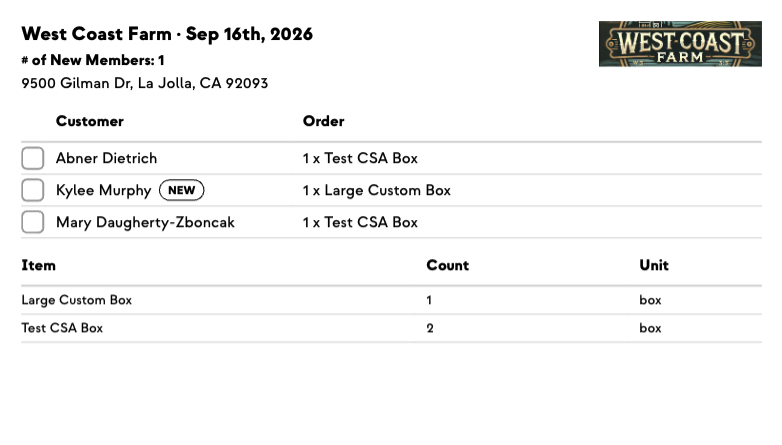
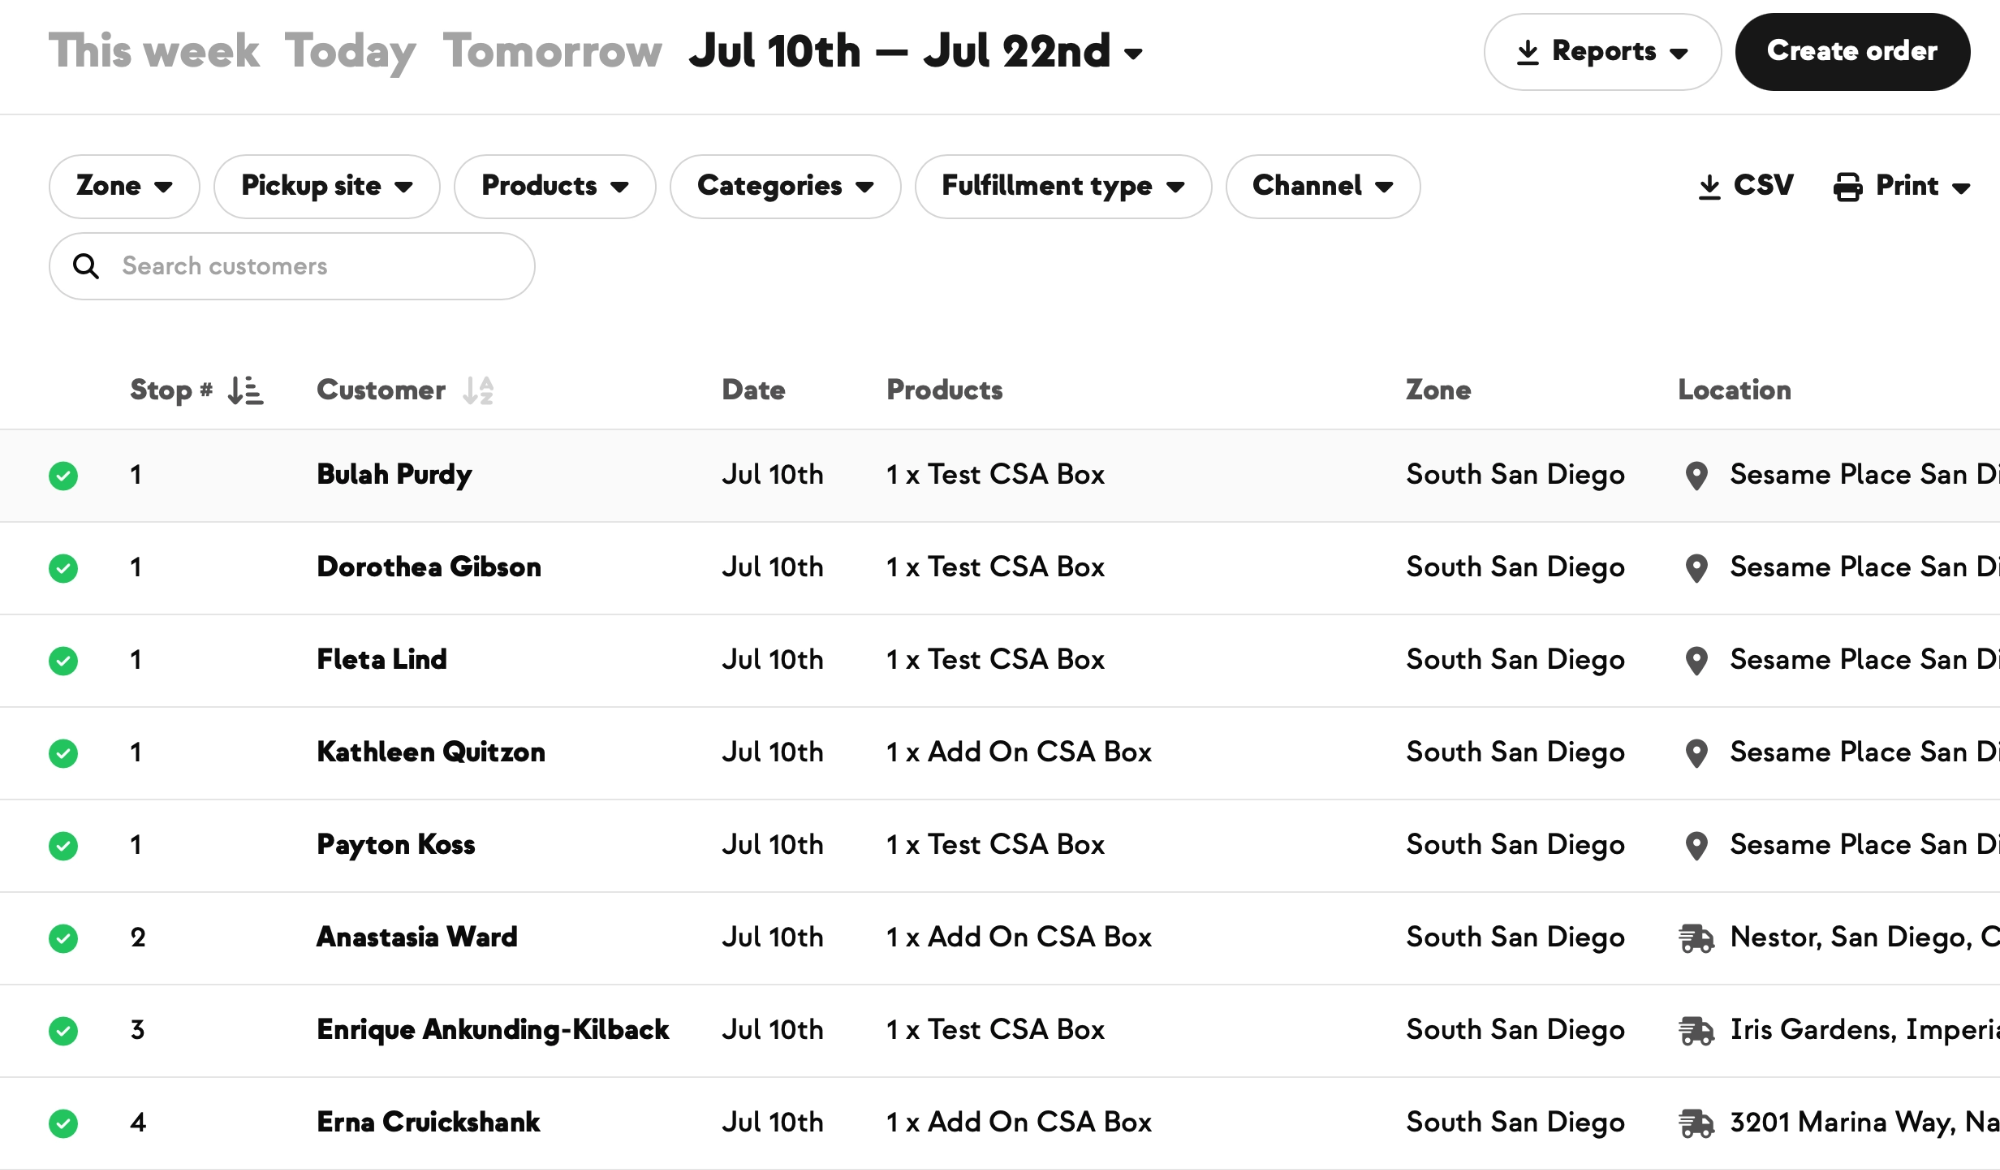
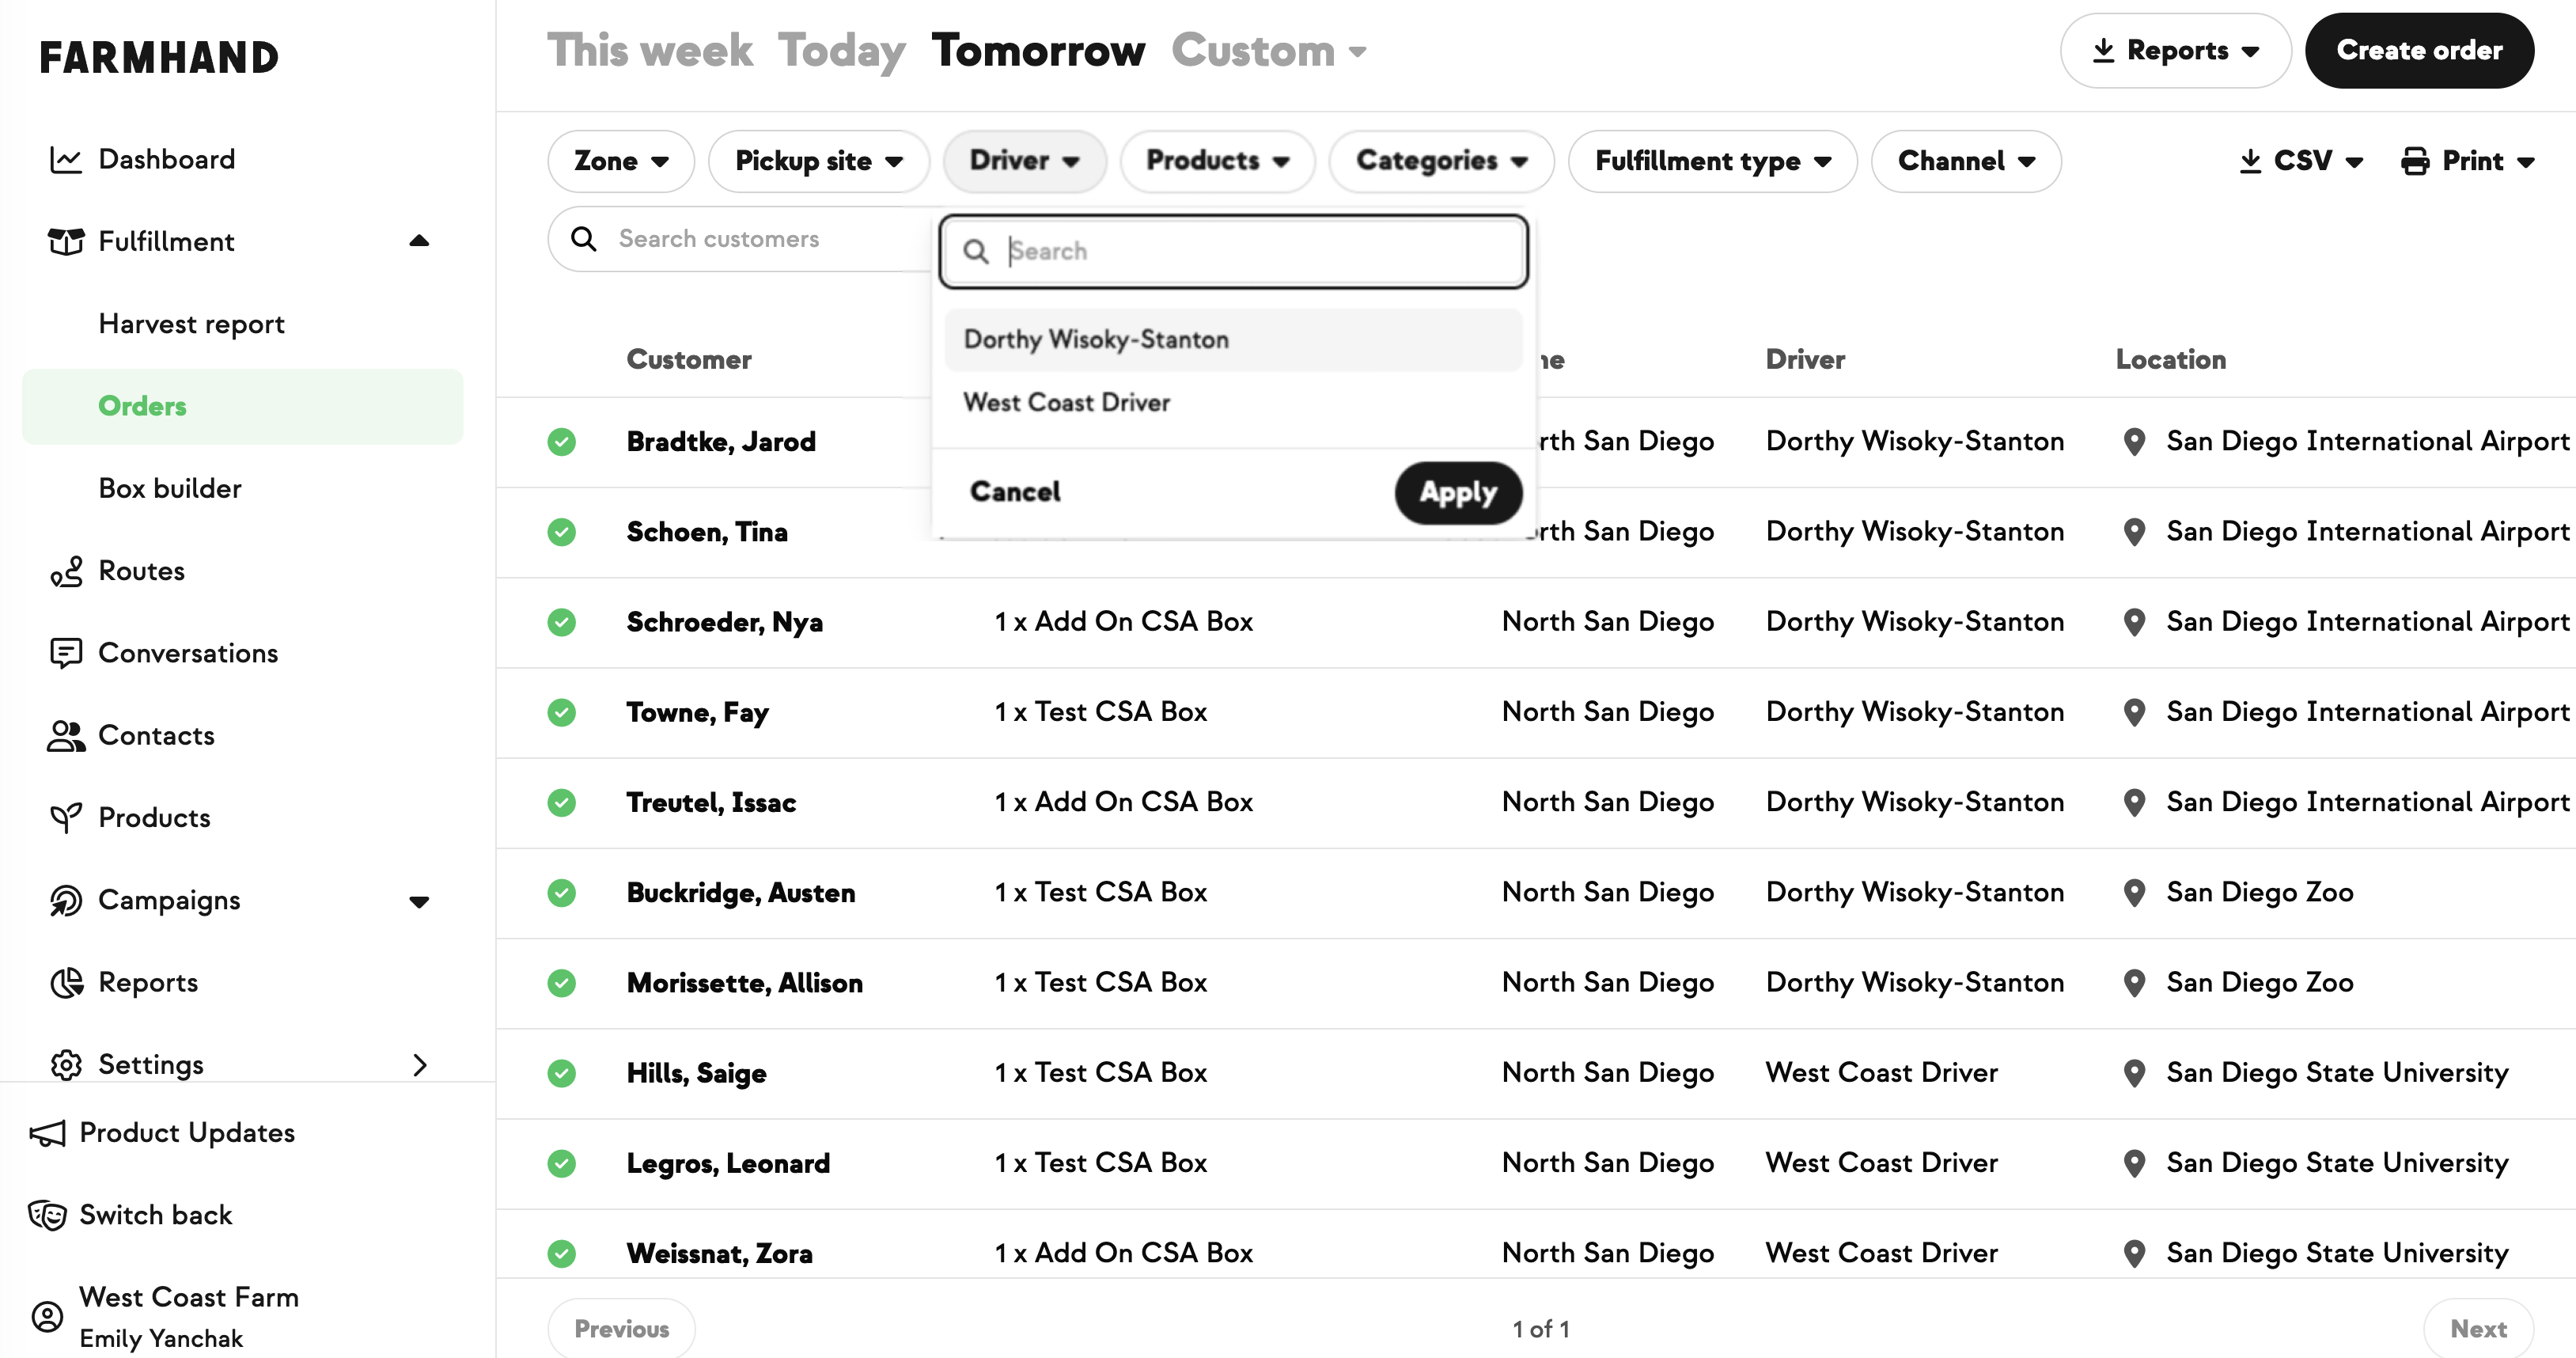
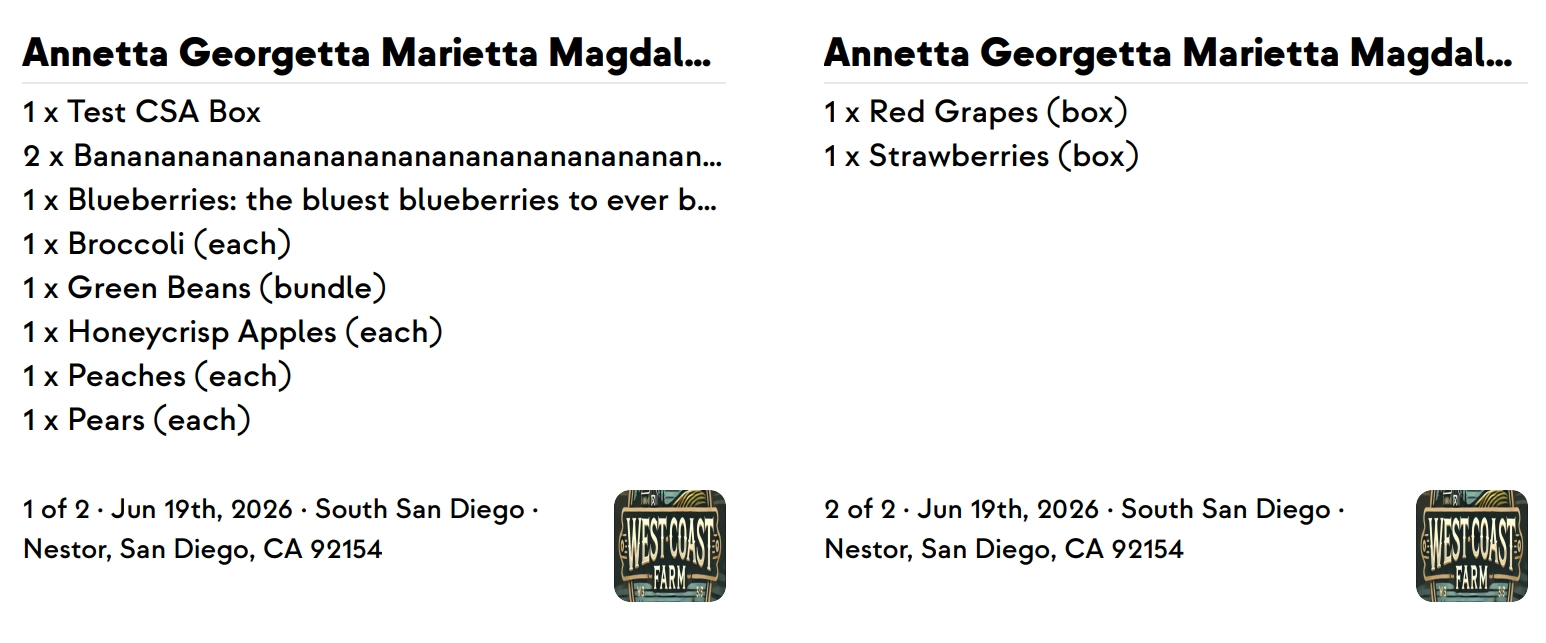
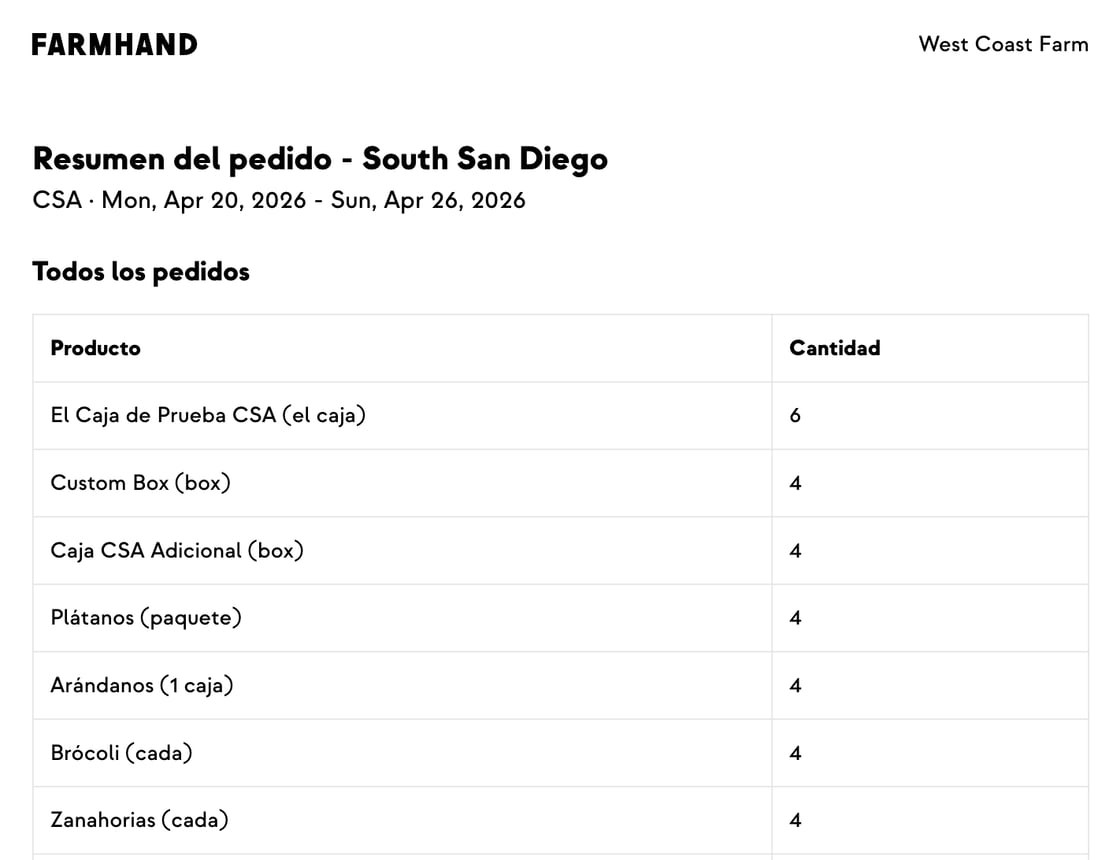
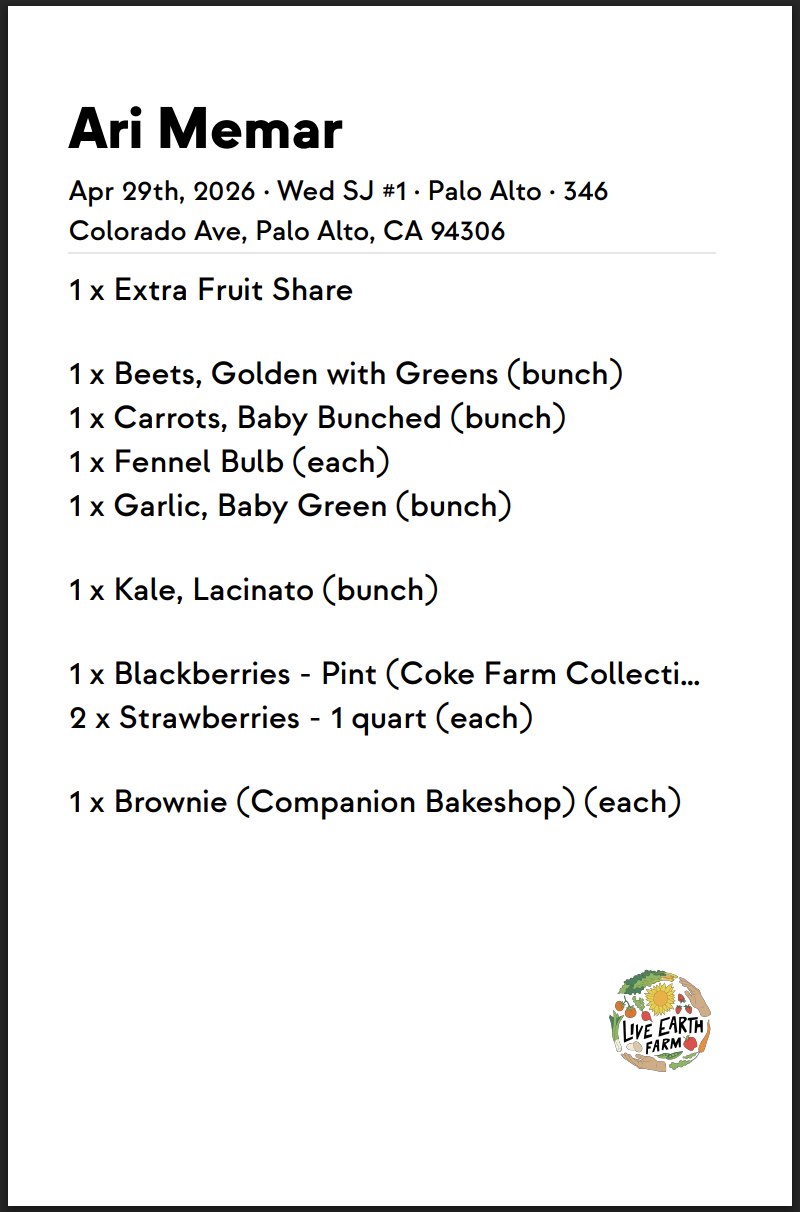
Once orders are in, head to the order view to print. You can print as a packing slip or as a label — and there are two label formats: one for office printers and one for thermal printers (thermal is faster and inkless).
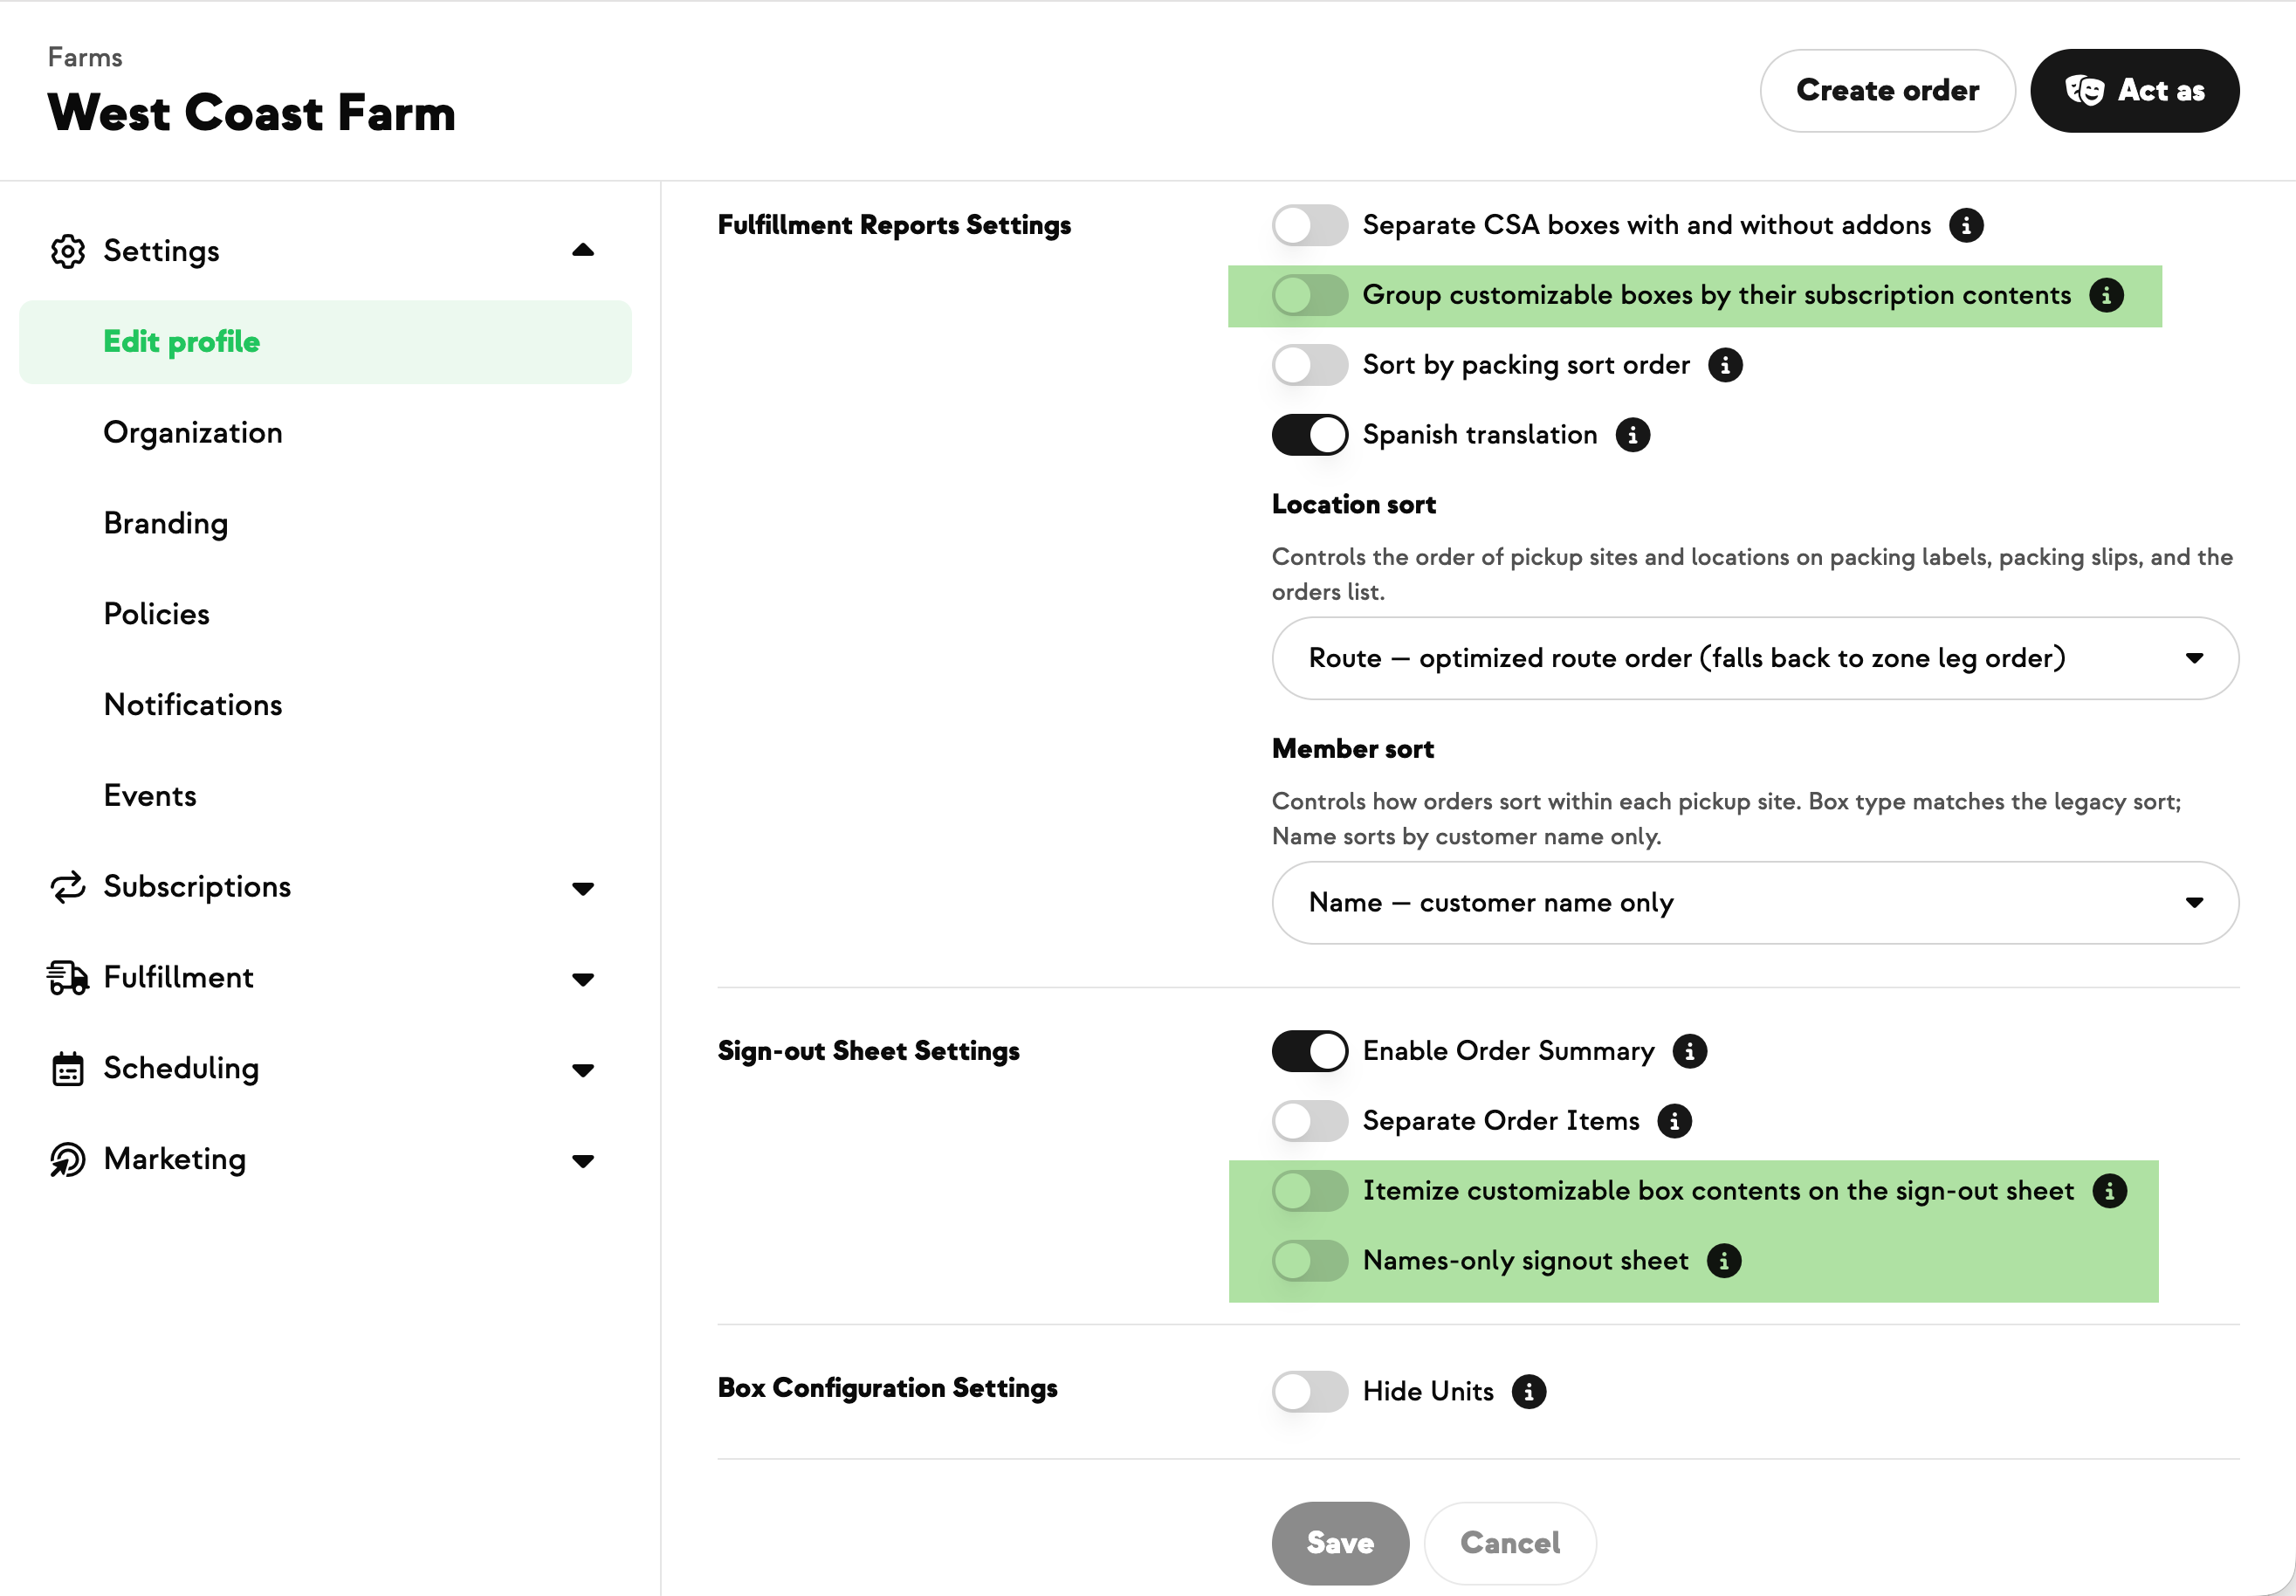
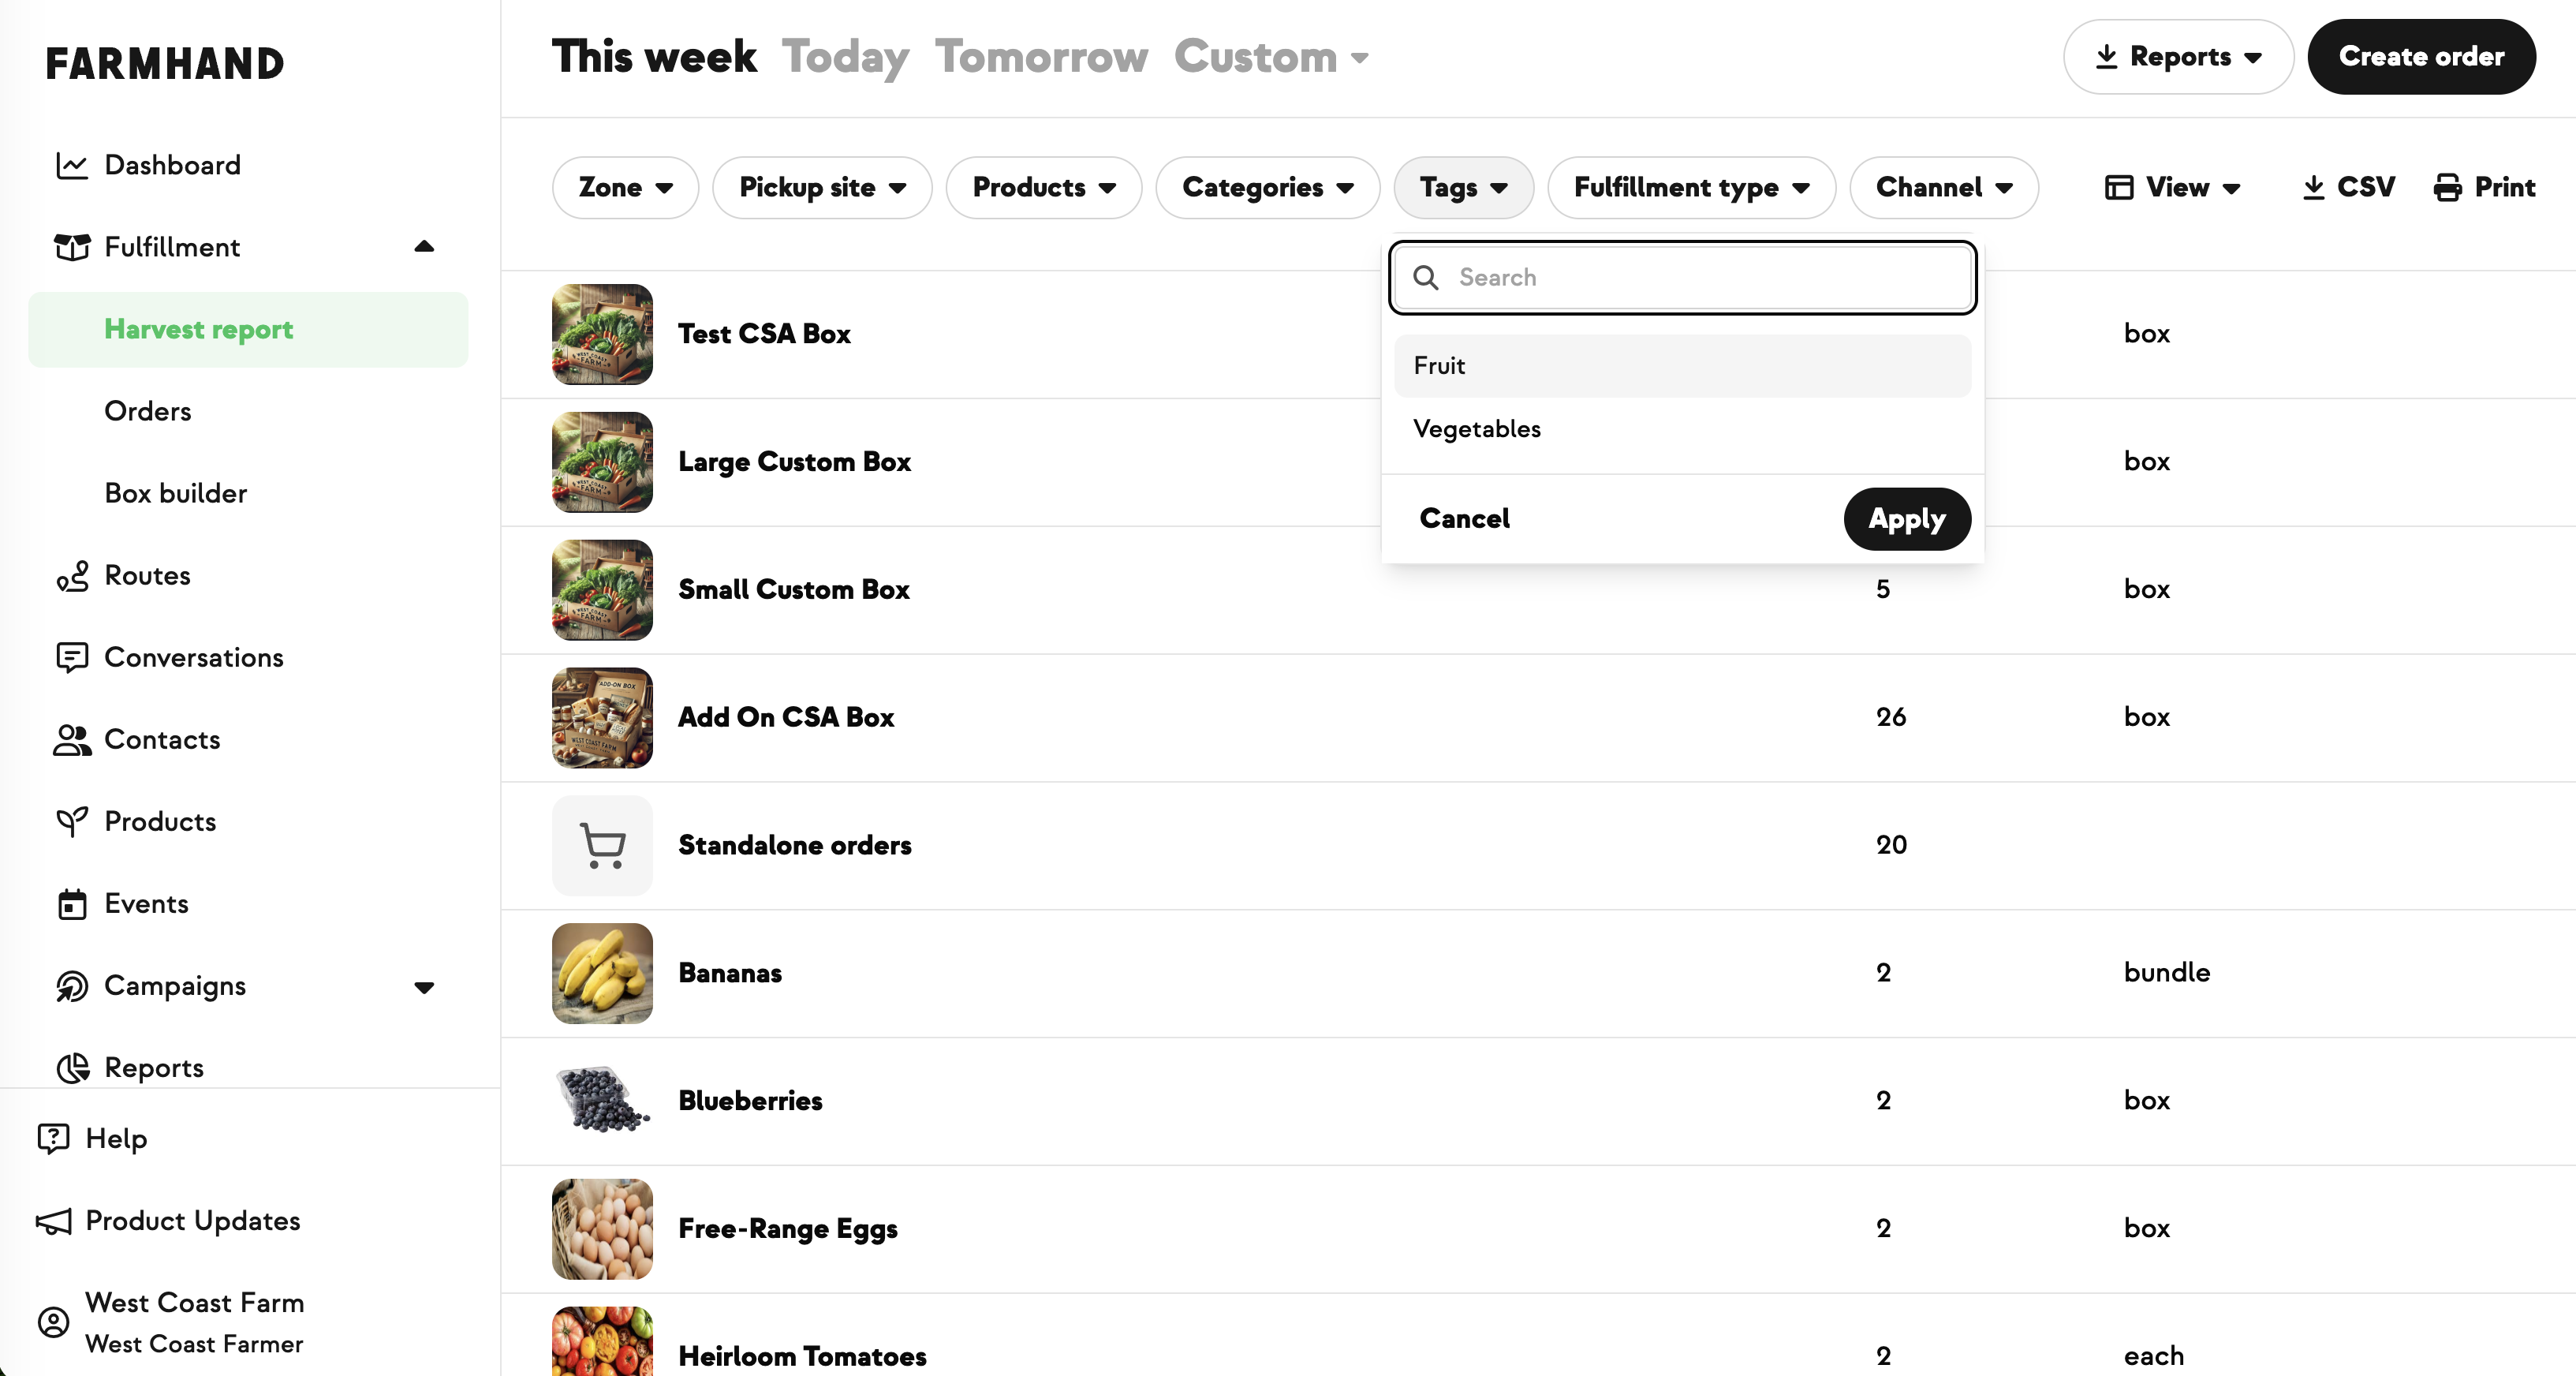
By default, items print in alphabetical order. If you want a specific packing order, assign a station to each product — for example, group all add-on shares (honey, dairy, pantry) separately from the veggie share so they're clearly delineated with a line break, or further break add-ons into their own packing groups (dairy below pantry, etc.). Veggies can stay alphabetical inside their group.





.jpeg)








-p-500.png)

































.jpg)
.jpg)
.jpg)
.jpg)



.png)